Your car's air filters are like its lungs. Just like you need clean air to breathe, your engine and you need clean air to function properly. There are two main air filters in most vehicles: the engine air filter and the cabin air filter. Both are critical for different reasons, and knowing when to change them is key to keeping your ride happy.
Why this matters
The engine air filter is the first line of defense for your engine. It stops dust, dirt, bugs, and other debris from getting sucked into the combustion chamber. If that junk gets in there, it can scratch up cylinder walls, foul spark plugs, and generally cause a lot of expensive damage over time. A clean filter ensures your engine gets a steady supply of clean, unrestricted air, which is vital for efficient combustion and good power output.
The cabin air filter, on the other hand, is all about your comfort and health. It filters the air coming into your car's interior through the heating, ventilation, and air conditioning (HVAC) system. This means it catches pollen, dust, pollutants, and even some odors before they get to you and your passengers. A neglected cabin filter can make your car smell stale, reduce the effectiveness of your AC or heater, and even trigger allergies.
Before you start — when NOT to DIY this
Changing an air filter is one of the easiest DIY jobs out there. Most engine air filters are in a box right on top of the engine, and many cabin filters are behind the glove box. However, there are a few situations where you might want to reconsider doing it yourself or at least be extra careful:
- Complex housing: Some vehicles have engine air filter housings that are tricky to open, involving multiple clips, screws, or even parts of the intake system that need to be temporarily moved. If you're not comfortable with that, a shop can handle it.
- Hard-to-reach cabin filter: While most are behind the glove box, some cabin filters are buried deep under the dash, requiring tools and contortions to access. If you have limited mobility or patience, it's not worth the frustration.
- Damaged housing: If the air filter housing or its seals are cracked, broken, or not sealing correctly, simply replacing the filter won't solve the problem. You'll need to address the housing issue, which might be a job for a professional.
- Unusual smells persist: If you change your cabin filter and still have persistent, strange odors, it could be a deeper HVAC problem like mold in the evaporator core. A filter won't fix that.
Step-by-step procedure
Changing both filters is usually a pretty quick job. Here's the general rundown:
Step 1 — locate the engine air filter
Pop your hood. The engine air filter is typically housed in a large, flat, black plastic box, usually on top of or to the side of the engine. It will have a large intake hose running from it. On some vehicles, you'll see a round housing instead.
Step 2 — open the housing
Most air filter housings are held shut by metal clips or screws. Unclip the clips or use a screwdriver to remove the screws. You might need to disconnect a sensor wire or unclip a hose to fully open it. Be gentle with any plastic tabs or connectors. I always give the housing a quick wipe with a shop rag while it's open; you'd be surprised how much grit collects in there.
Step 3 — remove the old engine air filter
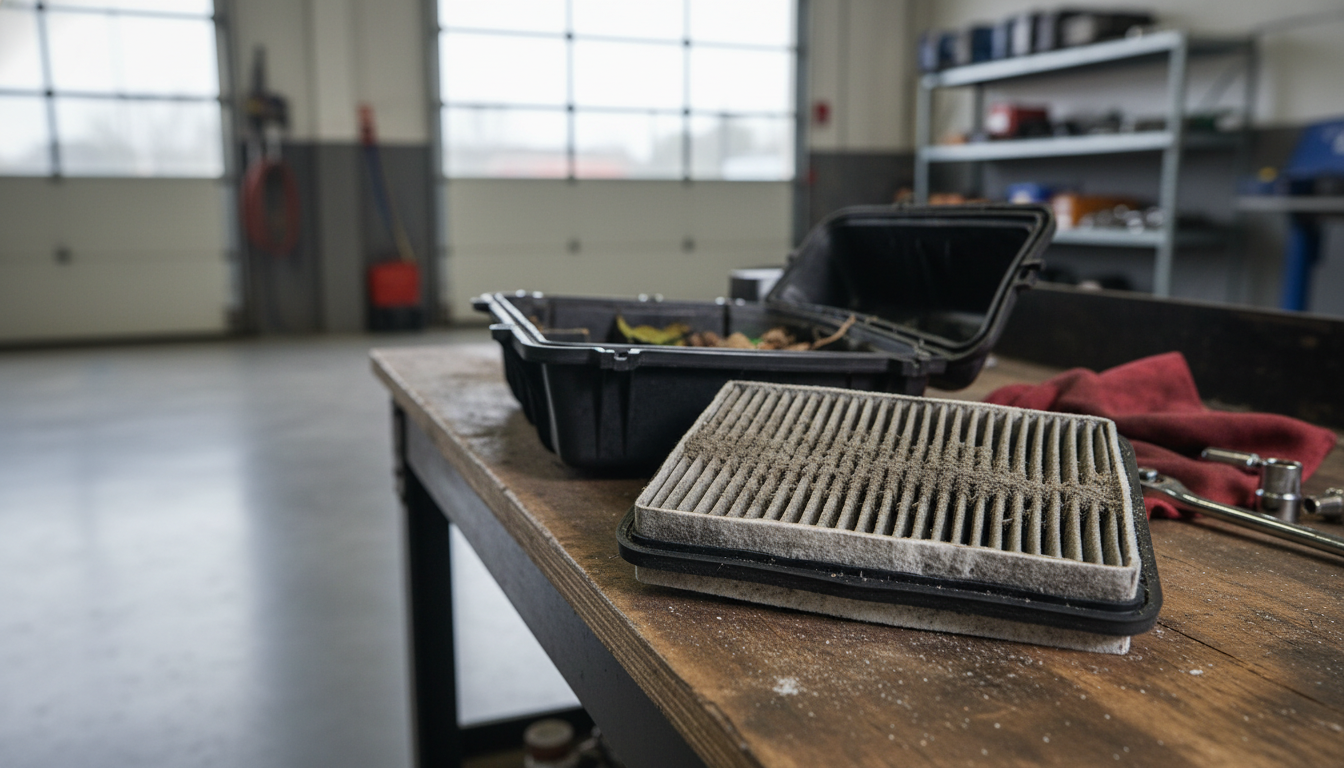
Simply lift the old, dirty filter out. Take a moment to compare it to your new filter to make sure they're the same size and shape. You'll probably be shocked at how much debris, leaves, and bugs are trapped in the old one.
Step 4 — install the new engine air filter
Drop the new filter into the housing, making sure it sits flush and properly sealed around the edges. Don't force it. If it doesn't fit, double-check that you have the correct filter for your vehicle. Close the housing, re-attach any clips, screws, sensors, or hoses you removed.
Step 5 — locate the cabin air filter
The cabin air filter is most commonly behind the glove box. Open the glove box and look for clips or a damper arm on the sides that allow it to swing down further or be removed. Sometimes it's under the dashboard on the passenger side, or even under the hood near the windshield cowl. Consult your service manual if you can't find it.
Step 6 — access the cabin filter housing
Once the glove box is out of the way, you'll usually see a small rectangular plastic cover, often with clips or small tabs. Squeeze the tabs or unclip the cover to reveal the filter. Note the direction of the airflow arrow on the old filter; you'll need to install the new one facing the same way.
Step 7 — remove and replace the cabin air filter
Slide the old filter out. It will likely be full of leaves, dust, and general crud. Slide the new filter in, making sure the airflow arrow points in the correct direction (usually down or towards the rear of the vehicle). Snap the cover back on and reassemble the glove box or whatever you moved to get access.
Common mistakes
- Forgetting the airflow direction: Especially on cabin filters, there's usually an arrow indicating airflow. Installing it backward can reduce effectiveness.
- Not fully seating the filter: The filter needs to sit flush in its housing to create a proper seal. If it's crooked or not fully in, unfiltered air can bypass it.
- Breaking plastic clips: Air filter housings often have plastic clips or tabs that can become brittle over time. Be gentle when opening and closing them.
- Ignoring the housing: Sometimes, debris collects in the bottom of the air filter housing. Take a moment to clean it out before putting the new filter in.
- Using the wrong filter: Always double-check the part number. An incorrect filter might not fit properly or might not filter effectively.
How often you should do this
Most manufacturers recommend changing your engine air filter every 15,000 to 30,000 miles, or at least once a year. If you drive in dusty conditions, like on gravel roads or in construction zones, you'll want to check and probably change it more frequently, perhaps every 5,000 to 10,000 miles. Cabin air filters typically have a similar interval, often every 12,000 to 15,000 miles or once a year. Again, if you're sensitive to allergens or drive in polluted areas, more frequent changes are a good idea. It's always best to consult your owner's manual for your specific vehicle's recommended maintenance schedule.
Recommended parts
While we don't carry specific engine or cabin air filters, we do have a great selection of other filters to keep your vehicle running smoothly. For instance, a quality oil filter is just as important as a clean air filter for engine health. Check out the Wix Oil Filter PXL57674 for $5.04, with 25 in stock. Another solid option is the Wix Oil Filter PXL57327 at $5.02, with 22 available. And don't forget the Wix Oil Filter PXL51381 for $5.07; we have 5 of those ready to ship. Keeping all your filters fresh is a smart move.
Frequently asked questions
What happens if I don't change my engine air filter?
Ignoring your engine air filter can lead to reduced fuel economy, decreased engine performance, and even costly engine damage over time. A clogged filter restricts airflow, forcing your engine to work harder and potentially allowing unfiltered debris to enter critical components.
How often should I change my cabin air filter?
Most manufacturers recommend changing your cabin air filter every 12,000 to 15,000 miles or once a year. However, if you frequently drive in dusty environments, through heavy pollen, or live in an urban area with high pollution, you might want to replace it more often to maintain air quality.
Can a dirty air filter affect my car's gas mileage?
Yes, a dirty engine air filter can definitely impact your car's gas mileage. When the filter is clogged, the engine has to work harder to pull in air, which can lead to inefficient combustion and a noticeable drop in fuel economy. Keeping it clean helps your engine breathe easy and perform efficiently.
Are all air filters the same?
No, air filters are not universal. Both engine and cabin air filters are specific to your vehicle's make, model, and year. They come in various shapes and sizes to fit their respective housings. Always consult your owner's manual or a parts catalog to ensure you purchase the correct filter for your car.
Related guides
Keep exploring — these articles pair well with what you just read.