Why this matters for your
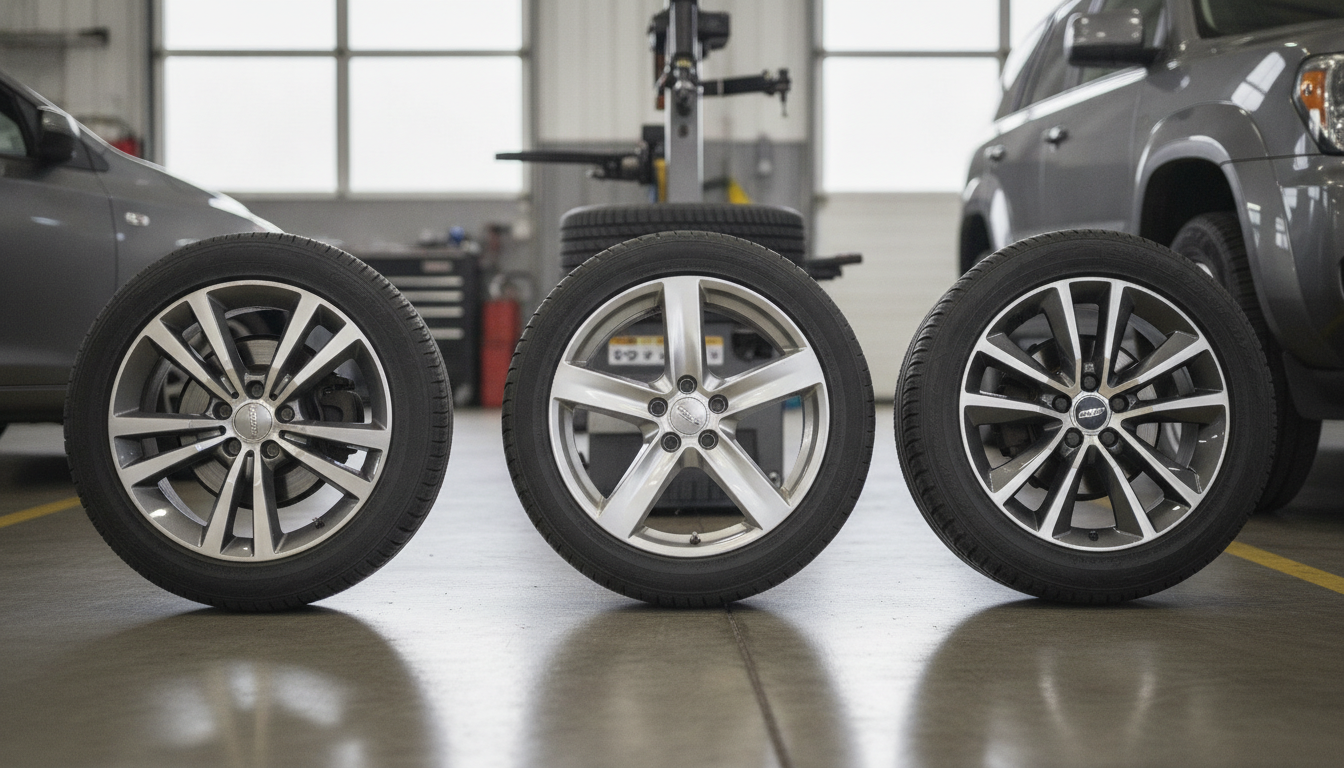
Choosing the right wheel diameter for your vehicle isn't just about looks. It fundamentally changes how your ride feels and performs. We're talking about the difference between a plush, comfortable cruise and a sporty, firm connection to the road. The wheel size, whether it's 17-inch, 18-inch, or 20-inch, directly dictates the tire's sidewall height, which is the unsung hero of ride quality.
A bigger wheel means you'll typically run a tire with a shorter sidewall to maintain the overall tire diameter. That shorter sidewall has less air volume and less flex. This translates to a firmer ride because the tire has less cushion to absorb bumps and imperfections in the road surface. Conversely, a smaller wheel allows for a taller tire sidewall, which acts like an extra shock absorber, soaking up those road irregularities for a smoother experience.
Before you start: when NOT to DIY
While swapping wheels and tires is generally a simple task, there are times when it's best to let a professional shop handle it. If you're dealing with any of these issues, head to a pro:
- Your current wheels are bent, cracked, or severely corroded.
- You suspect issues with your vehicle's suspension or steering components.
- You're upgrading to a wheel size that requires significant modifications to fit.
- You don't have the proper tools for safe tire mounting and balancing.
- You're unsure about the correct lug nut torque for your specific vehicle.
Step-by-step procedure
This procedure outlines the general steps for swapping wheels. Remember to always consult your vehicle's service manual for specific torque values and procedures.
Step 1 — Prepare your vehicle Park your vehicle on a flat, level surface. Engage the parking brake. If you have an automatic transmission, put it in park. For a manual, put it in first or reverse gear. Grab your wheel chocks and place them behind the wheels that will remain on the ground.
Step 2 — Loosen the lug nuts Before you even think about jacking up the vehicle, use your lug wrench or breaker bar to slightly loosen the lug nuts on the wheel you're removing. Don't take them all the way off, just enough to break them free. This prevents the wheel from spinning once it's in the air.
Step 3 — Jack up the vehicle Locate the proper jack points on your vehicle's frame. Consult your service manual for this. Use a sturdy floor jack to lift the vehicle until the tire is completely off the ground. Once it's up, immediately place jack stands under the designated support points. Never work under a vehicle supported only by a jack. Safety first, always.
Step 4 — Remove the lug nuts and wheel Now that the vehicle is safely supported, finish unscrewing the lug nuts you loosened earlier. Carefully pull the wheel straight off the hub. If it's stuck, a few gentle kicks to the tire's sidewall (not the wheel face) can help break it free. I've seen plenty of wheels practically welded to the hub from corrosion over the years; sometimes a little persuasion is all it takes.
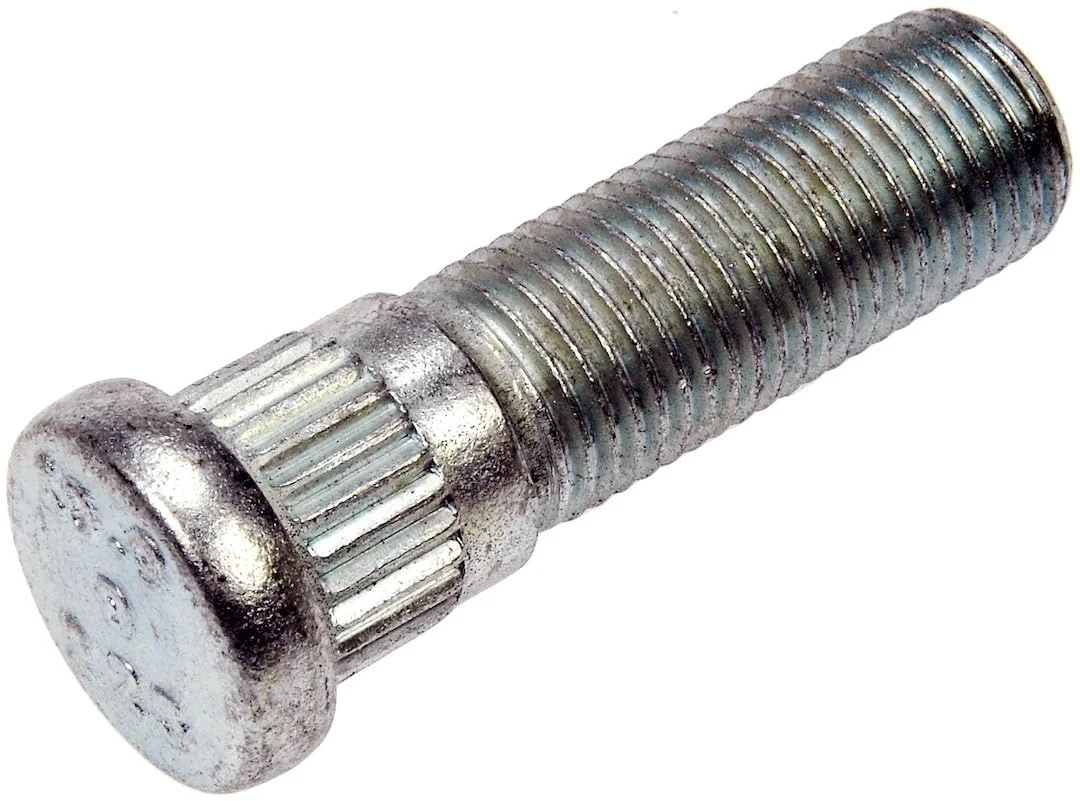
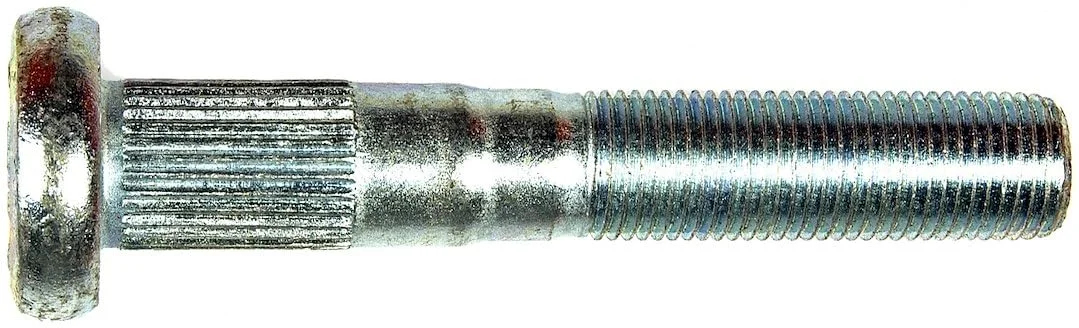
Step 5 — Inspect the hub and mating surfaces With the old wheel off, take a moment to inspect the wheel studs and the hub surface. Look for any rust, dirt, or debris. Clean these surfaces thoroughly with a wire brush if needed. This ensures the new wheel sits flush and prevents vibrations. If your studs are damaged, you might need a Dorman Wheel Stud M12-1.50 Thread Serrated Knurl, available for $5.12, or a Dorman Wheel Bolt 9/16-18 Thread Length 1.00 Inch for $5.41, depending on your vehicle.
Step 6 — Mount the new wheel Carefully lift the new wheel and tire assembly onto the hub, aligning the bolt holes with the wheel studs. Push it on firmly until it sits flush. Thread the lug nuts onto the studs by hand. Make sure they go on smoothly and don't cross-thread. If you have hub-centric rings, like the Gorilla Hub Centric Rings 66mm OD x 56.15mm ID Set of 4, you'll install them on the hub before mounting the wheel. We're currently out of stock on those, but they're typically $5.34.
Step 7 — Snug the lug nuts Using your lug wrench, snug the lug nuts in a star or cross pattern. This ensures the wheel is centered on the hub. Don't tighten them fully yet; just get them hand-tight so the wheel is secure.
Step 8 — Lower the vehicle Lift the vehicle slightly with the floor jack to remove the jack stands. Once the jack stands are clear, slowly lower the vehicle until the tires are just touching the ground, but not fully bearing the vehicle's weight. This allows the wheel to settle properly.
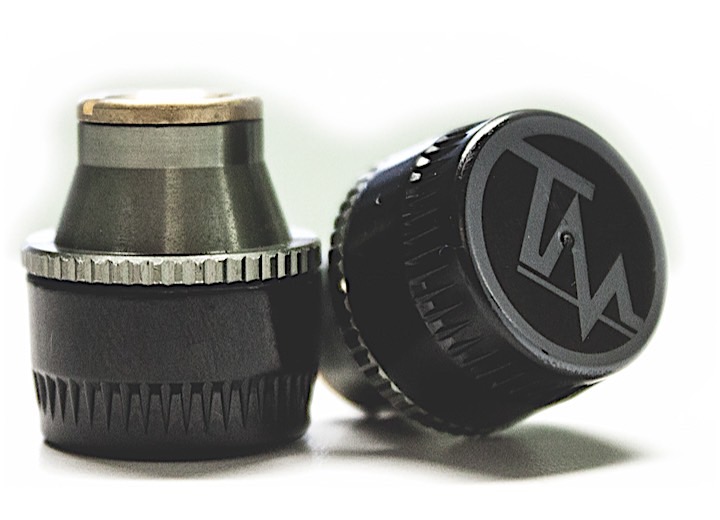
Step 9 — Torque the lug nuts Now, with the vehicle partially lowered, use your torque wrench to tighten the lug nuts to your vehicle's factory specifications. Again, use a star or cross pattern. Consult your service manual for the exact torque value. Do not overtighten, as this can warp brake rotors or damage studs. Do not undertighten, as this can lead to loose wheels. For any TPMS components, like the Valterra TireMinder TPMS Transmitters at $129.99, ensure they are properly installed and functioning.
Step 10 — Final lower and check Fully lower the vehicle. Remove the floor jack and wheel chocks. Double-check all lug nuts with the torque wrench to ensure they are at the correct specification. Take a short test drive, listening for any unusual noises or vibrations. After about 50-100 miles, it's a good idea to re-torque the lug nuts, just to be safe.
Bedding-in the new pads
While this article focuses on wheels, if you're swapping wheels and also just installed new brake pads, you'll need to bed them in. This process transfers a thin, even layer of friction material from the pads to the rotors, optimizing braking performance and preventing judder. The general procedure involves 15 to 20 medium-firm stops from 50 mph down to 30 mph, with about 30 seconds of cruising between each stop to allow the brakes to cool. Avoid coming to a complete stop or holding the brake pedal down hard after these stops, as this can imprint pad material unevenly.
How often to replace front brake pads
Brake pad life varies widely depending on your driving style, vehicle type, and pad material, but generally, front brake pads last between 30,000 and 70,000 miles. You'll know it's time to replace them if you hear a squealing sound (from the wear indicator), feel a grinding sensation, or notice your brake pedal feels softer or requires more pressure. Don't wait until you hear metal-on-metal; that means you're damaging your rotors too.
Top picks
Frequently asked questions
Do bigger wheels make my ride harsher?
Yes, generally. Larger wheels mean shorter tire sidewalls to maintain overall diameter. Shorter sidewalls have less flexibility and air volume, reducing the tire's ability to absorb road imperfections, leading to a firmer and often harsher ride quality.
What are the benefits of 17-inch wheels?
17-inch wheels typically allow for taller tire sidewalls, which provide better cushioning against bumps and rough roads, resulting in a more comfortable ride. They can also be lighter and less expensive than larger options.
How do 20-inch wheels affect handling?
20-inch wheels, with their very short tire sidewalls, offer improved steering response and enhanced cornering stability. The reduced sidewall flex means more direct feedback from the road, making the vehicle feel more agile and sporty.
Will changing wheel size affect my speedometer?
If you change wheel diameter without adjusting the tire's sidewall height to maintain the original overall tire diameter, yes, your speedometer can become inaccurate. Always aim for the same overall tire diameter when changing wheel sizes.
Are larger wheels more expensive to maintain?
Yes, often. Larger diameter tires for 18-inch or 20-inch wheels tend to be more expensive than 17-inch tires. Also, the shorter sidewalls on larger wheels are more susceptible to damage from potholes, potentially leading to more frequent tire replacements.