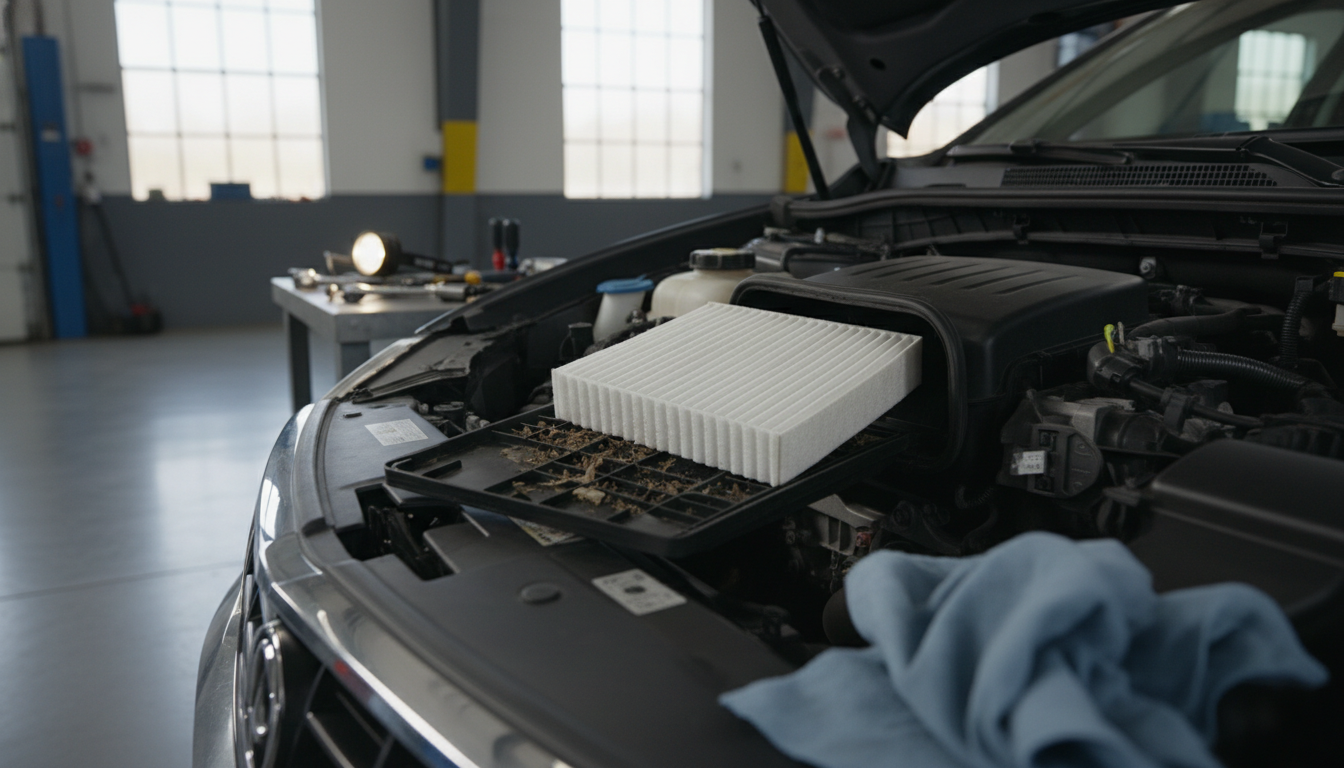
Why this matters for your
Your cabin air filter is basically the air purifier for your car's interior. It catches dust, pollen, leaves, and other crud before it gets blown into your face through the vents. Over time, that filter gets clogged up. When it's dirty, you'll notice a few things: your A/C or heater might not blow as hard as it used to, or you might start smelling stale air, exhaust fumes, or even mildew when you turn on the fan. It also means you're breathing in all that gunk the filter should be catching.
Keeping a fresh cabin air filter means cleaner air for you and your passengers. It also helps your HVAC system work more efficiently, which can extend the life of your blower motor. Think of it like changing the air filter in your house – you wouldn't want to breathe dirty air there, so why would you in your car?
Before you start: when NOT to DIY
Most cabin air filter replacements are pretty straightforward, but there are a few situations where it's better to let a professional handle it. If you run into any of these, it's time to call the shop:
- The filter is located in a spot that requires removing major dashboard components or specialized tools.
- You discover signs of rodent infestation (nests, droppings) around the filter housing. This can indicate wiring damage.
- There's standing water or significant moisture in the filter housing, suggesting a leak in your HVAC system.
- The filter housing itself is cracked or damaged, requiring replacement beyond just the filter.
- You're uncomfortable working with electrical connections, especially if the filter is near sensitive components.
Step-by-step procedure
Step 1 — Identify the filter's location The first thing you need to do is figure out where your cabin air filter lives. Most commonly, it's behind the glove box. Other vehicles might have it under the hood near the cowl, or even under the dashboard on the passenger side. Consult your vehicle's owner's manual or a service manual for the exact spot. It's usually a rectangular housing with clips or small screws.
Step 2 — Access the filter housing If it's behind the glove box, you'll likely need to unclip or unscrew the glove box to let it drop down. Sometimes there are small damper arms or stops you'll need to release. If it's under the hood, you might have to remove a plastic cowl cover. Take your time here; plastic clips can break if you're too aggressive. Once the glove box is out of the way, you'll see a rectangular cover, often with arrows indicating airflow direction.
Step 3 — Remove the old filter Unclip or unscrew the filter housing cover. Carefully pull out the old cabin air filter. Pay attention to how it's oriented – usually, there will be an "airflow" arrow on the filter itself. You'll probably be surprised by how much debris, leaves, and dirt are caught in there. I've seen some filters so packed with leaves they looked like a small bird's nest. That's why this maintenance is so important.
Step 4 — Clean the housing Before installing the new filter, take a moment to clean out any loose debris from the filter housing. A small shop vac or even just your hand can clear out leaves and dirt that might have accumulated around the edges. Make sure the area is clean and dry.
Step 5 — Install the new filter Orient the new cabin air filter correctly. The "airflow" arrow on the new filter should point in the same direction as the old one, usually towards the interior of the vehicle. Slide the new filter into the housing. It should fit snugly without having to force it.
Step 6 — Reinstall the housing cover Snap or screw the filter housing cover back into place. Make sure all the clips are securely fastened. You don't want any unfiltered air bypassing your new filter.
Step 7 — Reassemble the glove box or cowl Reverse the steps you took to access the filter. If you dropped the glove box, lift it back into position and reattach any damper arms or stops. Make sure it closes and latches properly. If you removed a cowl cover, reinstall it and secure any clips or screws.
Step 8 — Test the HVAC system Start your vehicle and turn on the fan for your HVAC system. Check for proper airflow and listen for any unusual noises. You should immediately notice improved airflow and fresher-smelling air coming from the vents. If you hear a whistling sound, double-check that the filter housing cover is sealed correctly.
Common mistakes
When replacing your cabin air filter, a few common mistakes can lead to problems down the line:
- Forgetting to check the orientation: Always pay attention to the airflow direction. Installing the filter backward can reduce its effectiveness.
- Neglecting to clean the housing: Failing to remove debris from the filter housing can lead to a clogged filter sooner than expected.
- Using the wrong filter: Make sure you have the correct filter for your vehicle model. Check the part number against your service manual or the filter packaging.
How often to replace front brake pads
Cabin air filters generally need to be replaced every 15,000 to 30,000 miles, or about once a year. However, if you drive in dusty conditions, areas with high pollen counts, or frequently encounter heavy traffic, you might need to change it more often. Pay attention to warning signs like reduced airflow, persistent odors from the vents, or increased allergy symptoms inside the car. Your vehicle's owner's manual will provide a recommended service interval, but always check the filter visually periodically. If it looks dirty, change it.
Top picks
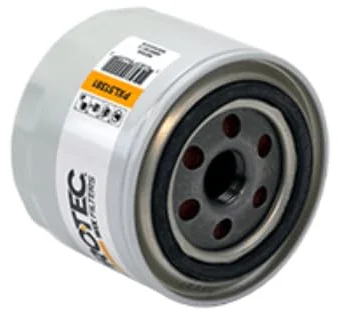
Frequently asked questions
What does a cabin air filter do?
A cabin air filter cleans the air that comes into your vehicle's interior through the heating, ventilation, and air conditioning (HVAC) system. It traps dust, pollen, pollutants, and other airborne particles, providing cleaner air for you and your passengers to breathe.
How do I know if my cabin air filter needs replacing?
Common signs include reduced airflow from the vents, persistent musty or stale odors inside the car, increased dust on your dashboard, or worsening allergy symptoms while driving. A visual inspection of the filter itself will also show if it's dirty or clogged.
Can I replace my cabin air filter myself?
Yes, for most vehicles, replacing the cabin air filter is a straightforward DIY task that requires minimal tools and automotive experience. The filter is often located behind the glove box or under the hood, making it easily accessible for replacement.
What happens if I don't replace my cabin air filter?
If you don't replace a dirty cabin air filter, you'll experience reduced air quality inside your car, decreased efficiency of your HVAC system, and potentially increased strain on your blower motor, which could lead to premature failure.