Why this matters for your wheels
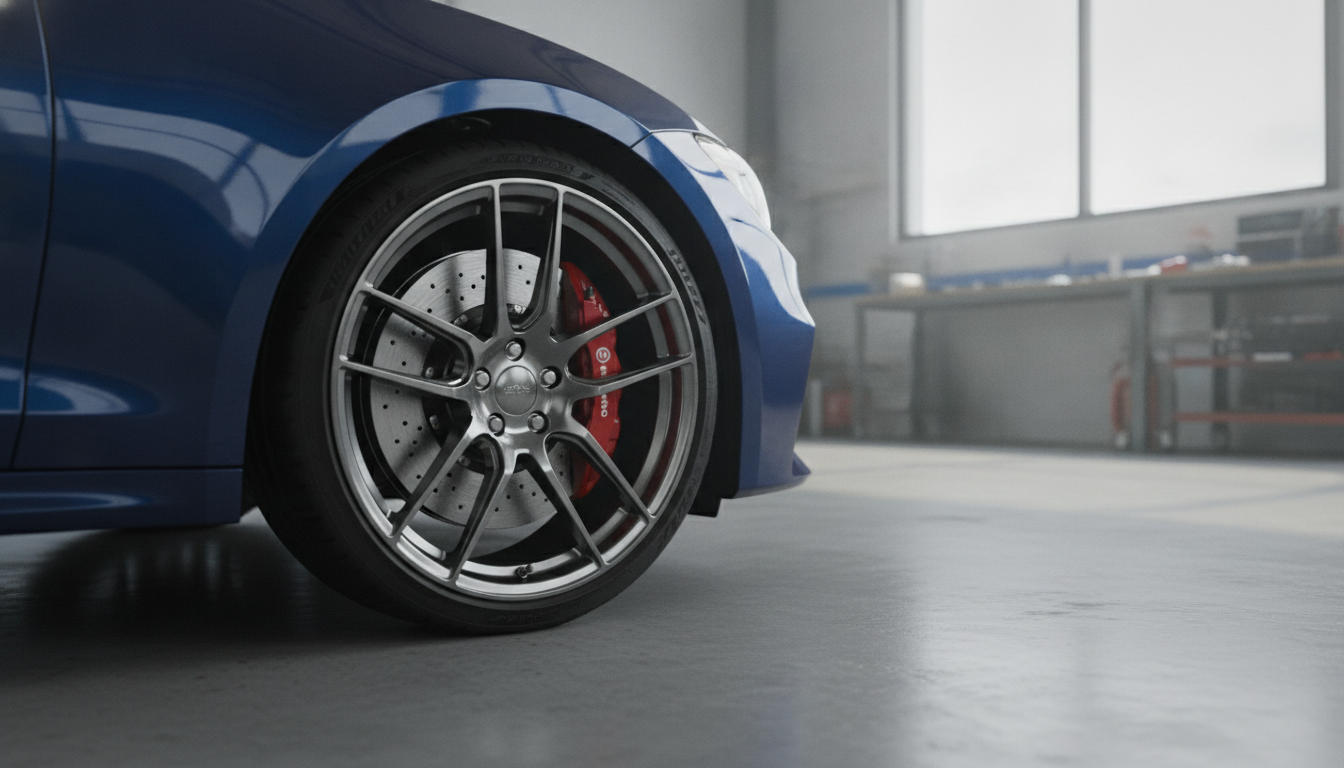
Brake dust isn't just ugly; it's corrosive. Those tiny metallic particles, superheated from friction, embed themselves in your wheel's finish. Over time, they can actually etch into the clear coat or paint, causing permanent damage. If you've ever seen a wheel with brown or black spots that just won't come off, that's what you're dealing with. Regular cleaning, combined with a good protective layer, keeps your wheels looking new and prevents costly refinishing down the road.
It's not just about aesthetics either. Heavy brake dust can sometimes clog small ventilation holes in brake components, though this is rare on street cars. The main concern is preserving the finish and value of your wheels. Especially on expensive aftermarket wheels, keeping them clean is crucial for resale value.
Before you start: when NOT to DIY
Most wheel cleaning and protection is a straightforward DIY task. However, there are a few situations where you might want to consider professional help or at least be extra cautious. If your wheels are already severely damaged, deeply pitted, or have extensive clear coat failure, a professional detailer or wheel repair shop might be a better option. They have specialized tools and compounds to address deeper issues. Also, if you're unsure about the type of finish on your wheels (e.g., polished aluminum, chrome, painted, clear-coated), using the wrong cleaner can cause damage. When in doubt, test a small, inconspicuous area first. Some wheels, particularly those with a highly polished, uncoated finish, require very specific care.
- Your wheels are already heavily corroded or pitted.
- You have custom or very expensive wheels with an unknown finish.
- You're dealing with severe, long-term brake dust buildup that's etched the surface.
- You lack the proper tools or safe cleaning products.
- You have a physical limitation preventing you from safely reaching all wheel surfaces.
Step-by-step procedure
Step 1 — Gather your supplies Before you start, make sure you have everything you need. This includes a dedicated wheel cleaner (pH-neutral is safest), various brushes (wheel brush, tire brush, lug nut brush), a wash mitt, two buckets (one for wash solution, one for rinse), microfiber towels, and a wheel sealant or coating. Having everything within reach makes the process much smoother.
Step 2 — Rinse the wheels thoroughly Start by rinsing each wheel with a strong stream of water. This knocks off the loose dirt and grit, preventing it from scratching the wheel during cleaning. Make sure the wheels are cool to the touch. Applying cleaners to hot wheels can cause them to dry too quickly and leave stains or streaks.
Step 3 — Apply wheel cleaner Spray your chosen wheel cleaner generously over the entire wheel surface, including the spokes, barrel, and lug nut area. Let it dwell for the recommended time on the product label. This allows the chemicals to break down and loosen the brake dust and grime. For particularly stubborn brake dust, I sometimes let it sit for a minute or two longer than recommended, but never let it dry on the wheel.
Step 4 — Agitate with brushes Using your dedicated wheel brushes, agitate the cleaner. Use a larger brush for the wheel barrel and spokes, a smaller brush for tight areas and around the lug nuts, and a stiff tire brush for the tire sidewall. Work the cleaner into all the nooks and crannies. This physical agitation is key to dislodging embedded brake dust and road grime. Pay special attention to the abutment clips where the brake pads sit, as these areas tend to collect a lot of dust.
Step 5 — Rinse again thoroughly Once you've agitated all surfaces, rinse the wheel completely with water. Ensure all cleaner residue is gone. Work from top to bottom, making sure water runs clear. Any cleaner left behind can dry and leave spots or streaks, especially in direct sunlight.
Step 6 — Wash the wheel with car soap Now, using a separate wash mitt and your car wash solution, give the wheels a final wash. This removes any remaining film or cleaner residue and prepares the surface for protection. Treat the wheels like you would your paint – gentle washing is best. Rinse once more after this step.
Step 7 — Dry the wheels Use clean, soft microfiber towels to dry the wheels completely. Pay attention to water traps in lug nut holes or crevices. Any standing water can lead to water spots, which defeat the purpose of cleaning. A leaf blower or compressed air can also help dry hard-to-reach areas.
Step 8 — Apply wheel protection This is where you lock in that clean look. Apply a wheel sealant or ceramic coating according to the product's instructions. These products create a barrier that makes it harder for brake dust to stick and easier to clean next time. They typically require a thin, even application and a short cure time before buffing off any excess. This step is crucial for reducing future cleaning effort.
Common mistakes
- Cleaning hot wheels: Always ensure your wheels are cool before applying any cleaner. Hot surfaces can lead to streaks and ineffective cleaning.
- Using the wrong products: Not all cleaners are safe for all wheel finishes. Always check compatibility.
- Neglecting to rinse thoroughly: Residual cleaner can cause damage over time. Make sure to rinse well.
- Skipping protection: Applying a sealant or coating is essential for long-term maintenance. Don’t skip this step!
How often to clean your wheels
The frequency depends on your driving habits and environment. For daily drivers, cleaning wheels every 1-2 weeks is a good practice to prevent heavy buildup. If you drive less or have protective coatings, you might be able to extend this to once a month.
Top picks

Frequently asked questions
What is the best way to remove stubborn brake dust?
For stubborn brake dust, use a dedicated, pH-neutral wheel cleaner and let it dwell for the recommended time. Agitate with various brushes, focusing on all wheel surfaces and crevices. For extremely tough spots, an iron remover product can chemically dissolve embedded iron particles.
Can I use dish soap to clean my wheels?
While dish soap can remove some grime, it's not ideal for wheels. It can strip waxes or sealants and may not be effective against embedded brake dust. Dedicated wheel cleaners are formulated to safely and effectively remove brake dust without damaging wheel finishes.
How often should I clean my wheels?
The frequency depends on your driving habits and environment. For daily drivers, cleaning wheels every 1-2 weeks is a good practice to prevent heavy buildup. If you drive less or have protective coatings, you might be able to extend this to once a month.
What is the benefit of applying a wheel sealant or coating?
A wheel sealant or ceramic coating creates a protective barrier on the wheel's surface. This barrier makes it much harder for brake dust and road grime to adhere, making future cleaning significantly easier and faster. It also helps protect the finish from corrosion and UV damage.