Why this matters for your vehicle
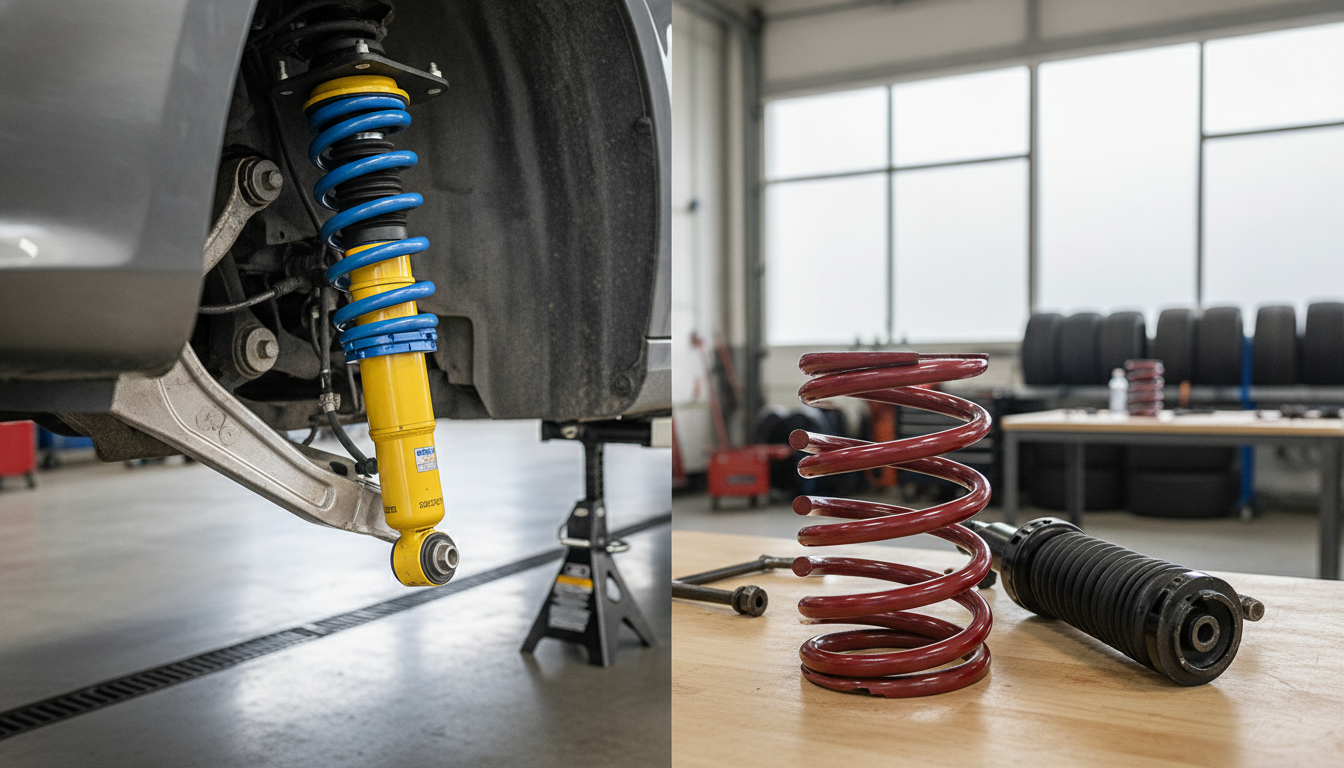
When you start thinking about changing your car's stance or improving its handling, you're usually looking at two main paths: lowering springs or coilovers. Both will drop your vehicle's ride height, but they go about it in very different ways and offer vastly different levels of control and performance. Understanding these differences is key to making the right choice for your driving style and budget.
Lowering springs are a simpler, more direct modification. You're essentially swapping out your factory springs for shorter, stiffer ones. Coilovers, on the other hand, are a complete suspension unit, integrating the spring and shock absorber into a single, adjustable assembly. The choice affects everything from how your car handles on the street or track to how comfortable it is on your daily commute.
Before you start: when NOT to DIY
While swapping suspension components can be a rewarding DIY project, there are times when it's better to leave it to the pros. If you're not comfortable with working under a vehicle, dealing with compressed springs, or don't have the right tools, a shop is your best bet. Suspension work can be dangerous if not done correctly.
- You don't have a torque wrench that covers the required range for suspension fasteners.
- You're not confident in safely lifting and supporting your vehicle on jack stands.
- You've never worked with spring compressors before.
- You're unsure about identifying worn suspension components like bushings or ball joints.
- You don't have access to an alignment rack after the installation.
Step-by-step procedure
Step 1 — Prepare the vehicle Park your vehicle on a flat, level surface. Engage the parking brake. Loosen the lug nuts on the wheels you'll be working on, but don't remove them yet. Now, safely lift the vehicle using a jack and support it securely on jack stands. Make sure the jack stands are on a solid part of the frame or pinch welds. Once the vehicle is stable, remove the lug nuts and take off the wheels.
Step 2 — Disconnect suspension components Depending on your vehicle's suspension design (MacPherson strut, double wishbone, etc.), you'll need to disconnect various components to allow the strut or shock assembly to be removed. This usually involves detaching the sway bar end link, brake line clips, and sometimes the lower control arm or ball joint. Be careful not to stretch or damage the brake lines or ABS sensor wires. I always take a moment to inspect the abutment clips on the brake calipers while the wheel is off, just to make sure they're not corroded.
Step 3 — Remove the existing strut/shock assembly For MacPherson struts, you'll typically unbolt the top hat nuts from inside the engine bay or trunk, and then the lower mounting bolts from the knuckle or control arm. For separate shock and spring setups, you'll remove the shock first, then use a spring compressor to safely remove tension from the spring before detaching it. Always use a proper spring compressor; those cheap claw compressors can be dangerous. Never try to remove a spring under load without one.
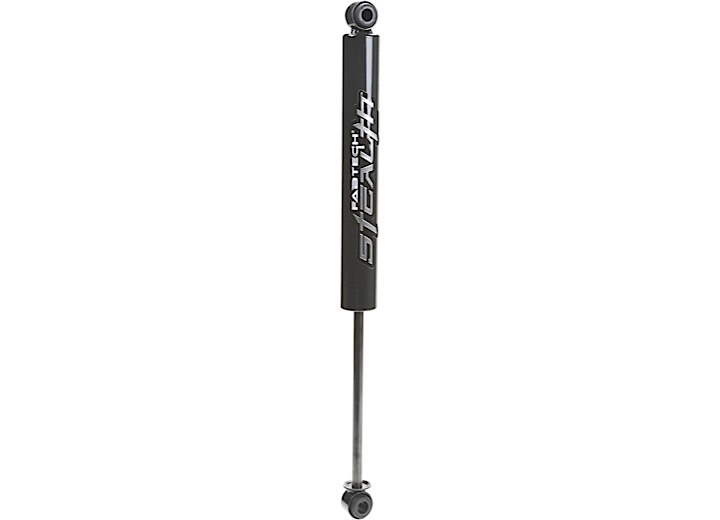
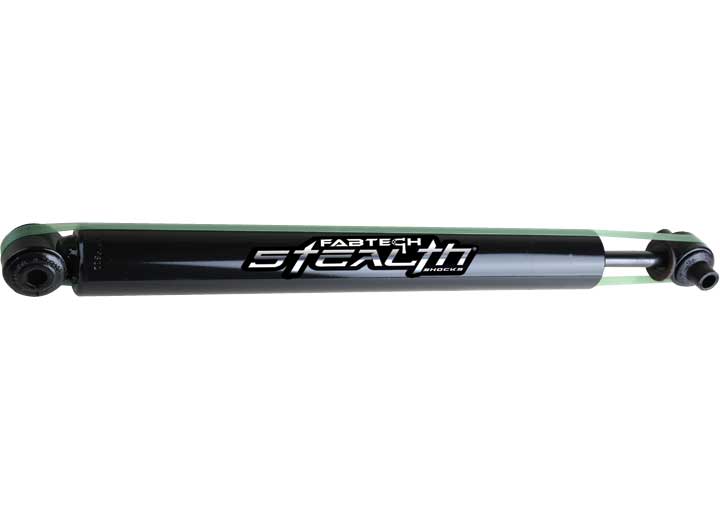
Step 4 — Disassemble the strut (for lowering springs) If you're installing lowering springs, you'll need to disassemble your existing strut assembly. This means compressing the old spring, removing the top hat, and then the spring. Inspect your existing shock absorber. If it's leaking or feels weak, now is the time to replace it. You might consider upgrading to a performance shock absorber designed to work with lowering springs, like a Fabtech Stealth Monotube Shock Absorber. We have the FTS6349 for $89.99 and the FTS6352 for $94.99, both in stock with 364 and 371 units available, respectively.
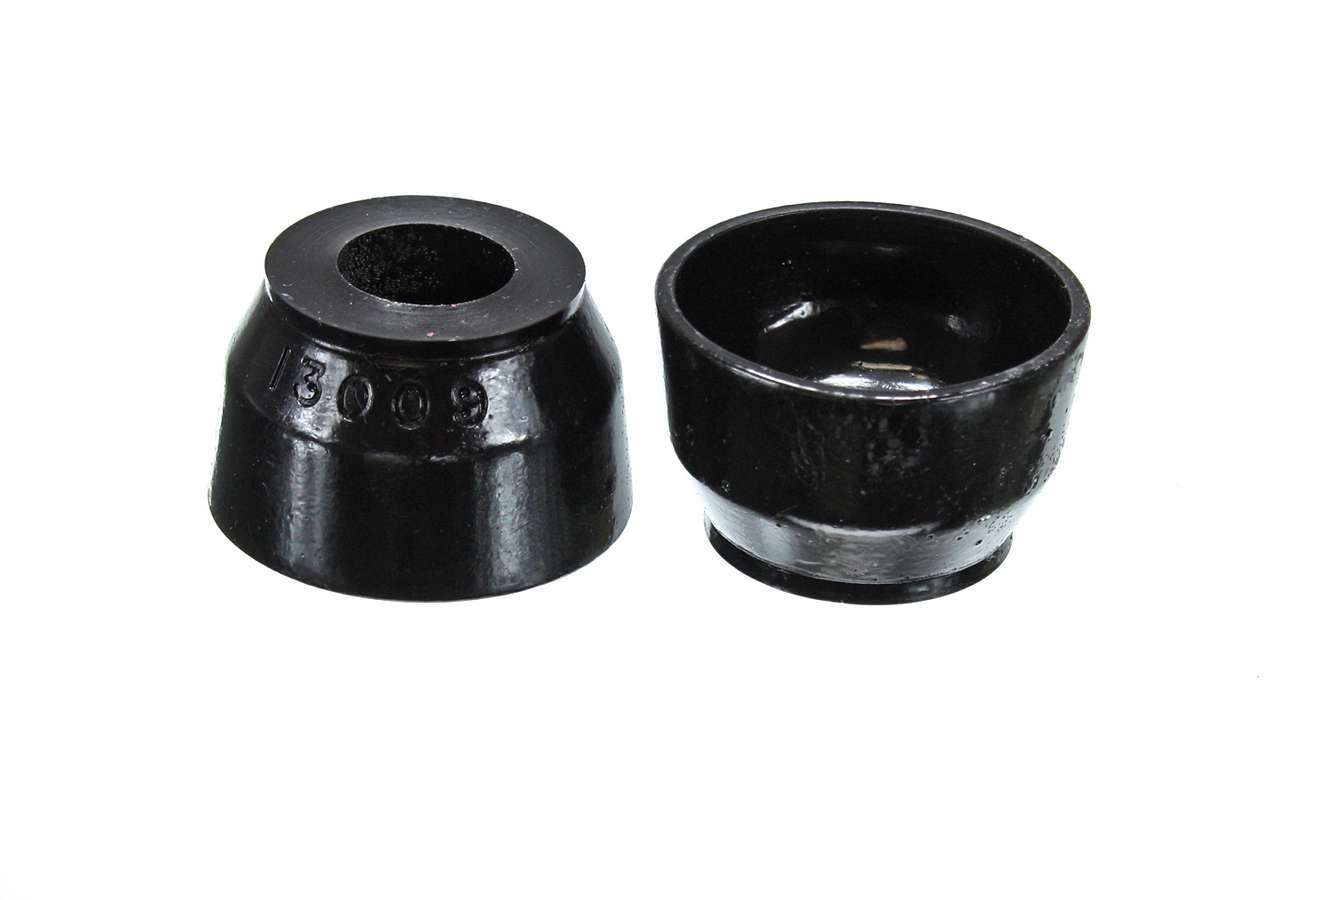
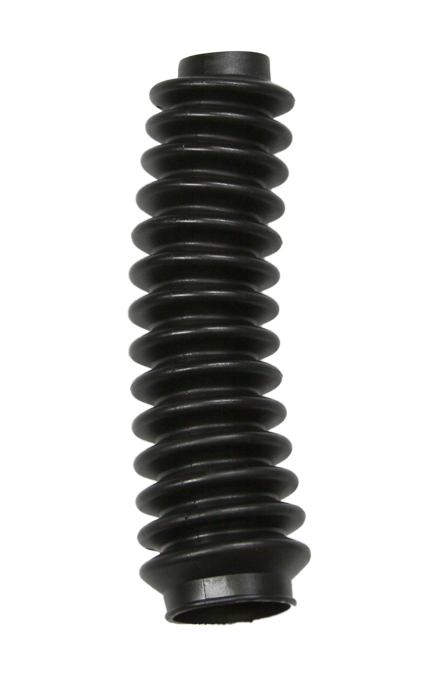
Step 5 — Install the new lowering spring or coilover For lowering springs, place the new spring onto the shock absorber, compress it, and reassemble the top hat. Make sure the spring is seated correctly in the upper and lower perches. For coilovers, the process is simpler: the spring is already part of the unit. Just ensure any rubber isolators or dust boots, like the Skyjacker Black Shock Boot (B10K) at $5.04 or the Red Rubber Shock Boot (B10R) also at $5.04, are correctly installed on the new unit.
Step 6 — Install the new assembly Carefully guide the new strut or coilover assembly back into position. Start by loosely securing the top hat nuts, then align and bolt the lower mounts. Don't tighten anything fully yet. You want some play to get everything aligned.
Step 7 — Reconnect suspension components Reattach everything you disconnected in Step 2: sway bar end links, control arms, brake lines, etc. Make sure all bolts are started by hand to avoid cross-threading. Consult your service manual for specific torque values for all fasteners. It's critical to tighten everything to factory specifications to ensure safety and proper suspension function.
Step 8 — Repeat for other wheels Move to the next wheel and repeat the process for all four corners of the vehicle. It's usually best to do one axle at a time, or even one corner at a time, to keep things organized.
Step 9 — Final tightening and alignment Once all components are installed and loosely bolted, lower the vehicle off the jack stands. With the vehicle's weight on the suspension, go back and tighten all suspension bolts to their final torque specifications. This is important to prevent bushing bind. After any suspension work, a wheel alignment is absolutely necessary. The ride height change will throw off your alignment, leading to premature tire wear and poor handling if not corrected.
Common mistakes
One common mistake is not checking the compatibility of your new components. Always ensure that the lowering springs or coilovers you choose are designed for your specific vehicle model. Another issue is neglecting to replace worn components during installation. If your shocks or other suspension parts are in poor condition, upgrading your springs or coilovers won't yield the best results. Lastly, failing to perform a proper alignment after installation can lead to uneven tire wear and handling issues.
How often to replace front brake pads
This section is not applicable to a suspension component comparison. This article focuses on coilovers and lowering springs.
Top picks
Frequently asked questions
What's the main difference in adjustability between coilovers and lowering springs?
Lowering springs offer a fixed drop in ride height and no adjustability for damping. Coilovers provide comprehensive adjustability, allowing you to fine-tune ride height, damping (stiffness), and sometimes even rebound, giving you much more control over your vehicle's handling characteristics.
Which option provides better ride comfort for daily driving?
Generally, lowering springs tend to offer better ride comfort for daily driving, especially when paired with compatible stock or aftermarket shocks. Coilovers, particularly performance-oriented ones, can be much stiffer. While high-end coilovers can be tuned for comfort, they usually prioritize performance.
Is installation more difficult for coilovers or lowering springs?
Installing lowering springs typically involves disassembling your existing strut assembly to swap springs, which requires a spring compressor. Coilovers are usually a complete, pre-assembled unit, often making their direct installation simpler, though the initial setup and adjustment can be more complex.
What is the typical cost difference between the two options?
Lowering springs are significantly more affordable, often costing a few hundred dollars for a full set. Coilovers are a much larger investment, ranging from several hundred to several thousand dollars, depending on the brand and level of adjustability and performance they offer.