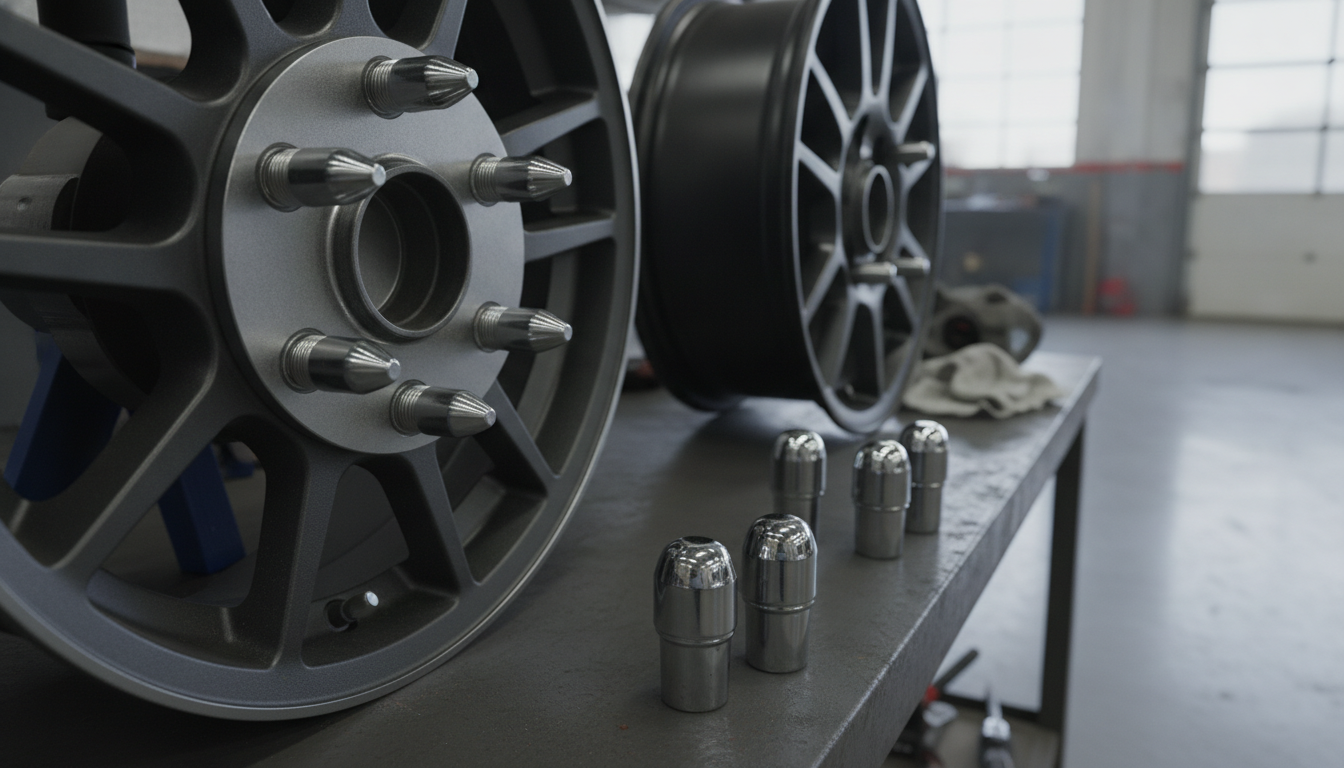
Why this matters for your
When you're dealing with wheels and tires, the little things make a huge difference. Lug nuts are one of those small components that play a critical role in keeping your wheels securely attached to your vehicle. It's not just about tightening them down; it's about making sure the lug nut's seat matches the wheel's seat. Get this wrong, and you're looking at potential wheel damage, vibrations, and in severe cases, a wheel coming loose. We've seen it happen in the shop, and it's never pretty.
Matching the lug nut seat to the wheel seat ensures proper clamping force distribution. This contact point is what holds everything together. If the surfaces don't mate perfectly, the wheel won't be centered correctly on the hub, and the clamping force will be uneven. This can lead to stress fractures in the wheel, stripped studs, or the lug nuts loosening over time. It's a fundamental aspect of wheel installation that often gets overlooked.
Before you start: when NOT to DIY
While understanding lug nut types is crucial, there are times when you should just take your vehicle to a professional. If you've already tried to install wheels with the wrong lug nuts and suspect damage to your wheel studs or the wheel itself, get it checked out. If you're dealing with a stripped lug nut or a broken wheel stud that's stuck, that's a job for the shop. Also, if you're unsure about the correct lug nut type after inspecting your wheels, or if you're working with custom aftermarket wheels that have unusual seating, it's safer to consult a pro. Don't risk your safety or further damage to your vehicle.
- You have stripped wheel studs or lug nuts.
- There's visible damage to the lug holes on your wheels.
- You're dealing with a wheel that won't sit flush on the hub.
- You're using specialized or custom wheels and are unsure of the fitment.
- You notice persistent vibrations after a wheel installation, even after balancing.
Step-by-step procedure
Step 1 — Understand the three main lug nut seat types There are three primary types of lug nut seats you'll encounter: conical (also known as acorn or tapered), ball (also called spherical or radius), and shank (or mag). Each type has a distinct shape where it contacts the wheel. Conical seats taper down to a point, ball seats are rounded, and shank seats have a straight cylindrical portion that extends into the wheel, often with a washer.
Step 2 — Identify your wheel's lug seat type This is the most critical step. You need to look at the lug holes on your wheels. If you have the wheel off the car, you can easily see the shape of the seat inside the lug hole. If the wheel is on the car, remove one lug nut and carefully inspect the shape of the hole. It will be either a cone, a sphere, or a straight cylinder. Some OEM wheels, especially on Honda and Toyota, use ball seats. Most aftermarket wheels and many domestic OEM wheels use conical seats. Shank seats are less common but found on some older vehicles and specific aftermarket wheels. I always double-check the seat type, even on wheels I've seen a hundred times, because you never know when someone's put a different wheel on.
Step 3 — Inspect your existing lug nuts Take one of your current lug nuts and look at its base. Does it have a sharp taper, a smooth curve, or a flat washer with a cylindrical extension? This will tell you what type of lug nut you currently have. If you're replacing wheels, you'll need to make sure the new lug nuts match the new wheels, not necessarily the old ones. If you're just replacing worn lug nuts, match the existing type.
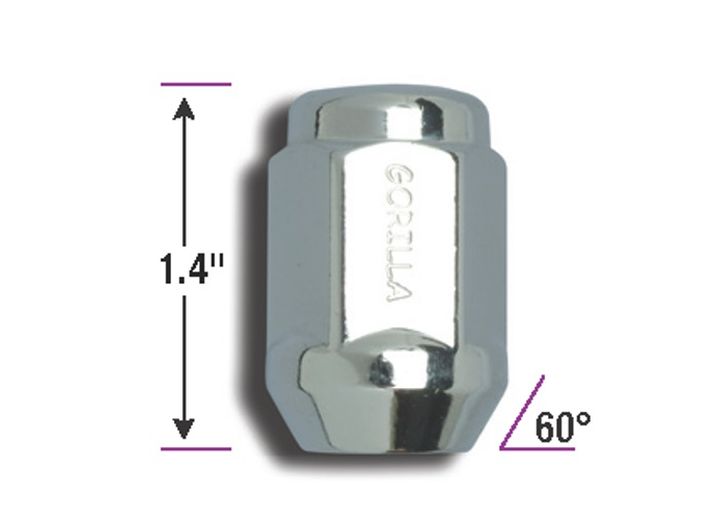
Step 4 — Choose the correct replacement lug nuts Once you know your wheel's seat type, select lug nuts that have the corresponding seat. For example, if your wheel has conical seats, you need conical lug nuts like the Gorilla Automotive Acorn Bulge Seat Lug Nut 14mm x 1.50, which sells for $5.47. If your wheel has ball seats, you need ball seat lug nuts. If it has shank seats, you need shank lug nuts. Don't mix and match. A mismatch will not properly secure the wheel and can lead to serious issues.
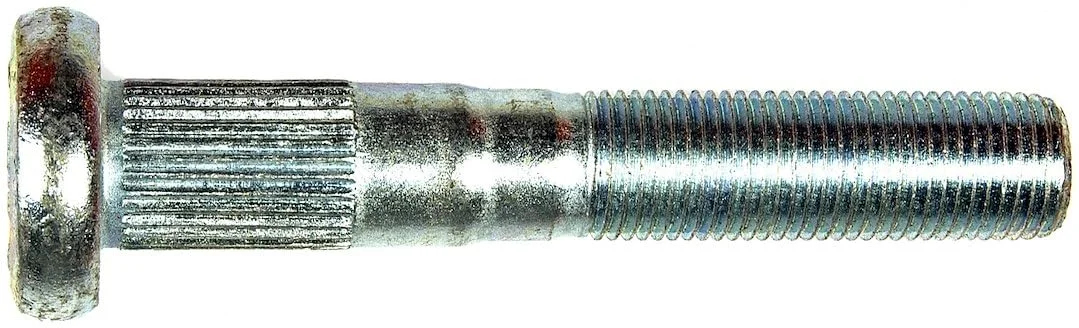
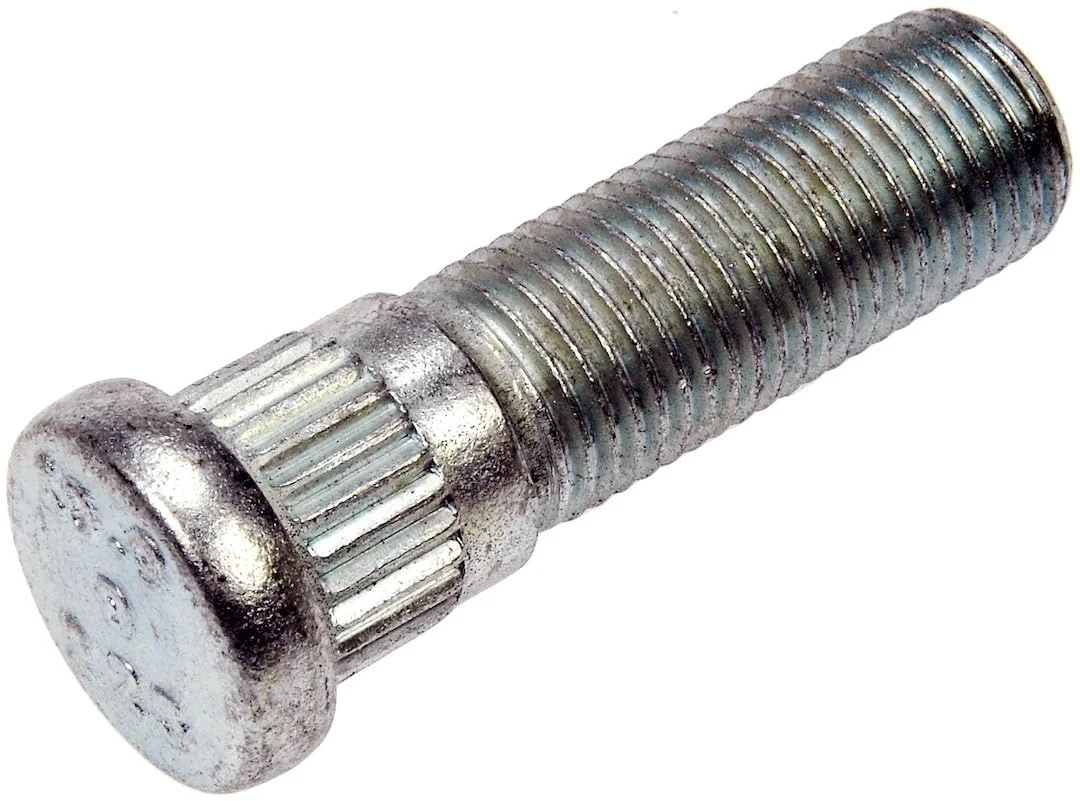
Step 5 — Verify thread size and pitch Beyond the seat type, you also need to make sure the lug nuts have the correct thread size and pitch for your vehicle's wheel studs. Common sizes include M12x1.5, M14x1.5, 1/2-20, and 9/16-18. If you're replacing a Dorman Wheel Bolt 9/16-18 Thread Length 1.00 Inch, available for $5.41, you need to ensure your new lug nuts match that thread. Using the wrong thread will strip your studs or the lug nuts.
Step 6 — Clean the mounting surfaces Before installing any wheel, always clean the hub mounting surface and the back of the wheel. Remove any rust, dirt, or debris. This ensures the wheel sits perfectly flush against the hub, which is crucial for proper wheel centering and clamping force. Never use grease or anti-seize on the lug nut threads or the mating surfaces, as this can lead to over-tightening and incorrect torque readings.
Step 7 — Install the wheels and hand-tighten lug nuts Carefully mount the wheel onto the studs. Thread each lug nut onto its stud by hand. Make sure they thread on smoothly. If you feel resistance, stop. Do not force it. This could mean you have the wrong thread size or a cross-threaded lug nut. Back it off and try again. Once all lug nuts are hand-tight, the wheel should be centered and snug.
Step 8 — Torque the lug nuts to factory specification Using a torque wrench, tighten the lug nuts in a star pattern. Consult your service manual for the specific torque value for your vehicle. This ensures even clamping force across the wheel. Do not use an impact gun to fully tighten lug nuts, as it's easy to over-torque them. Over-torquing can stretch wheel studs, damage the lug nuts, or warp brake rotors.
Step 9 — Re-check torque after 50-100 miles After driving for about 50 to 100 miles, it's a good practice to re-check the torque on your lug nuts. Wheels can settle slightly, and lug nuts can sometimes loosen a tiny bit. This quick check ensures everything remains secure after the initial installation.
Bedding-in the new pads
This section isn't applicable to lug nut installation. Lug nuts don't require a bedding-in procedure like brake pads do. Once properly torqued, they are ready for normal operation.
How often to replace front brake pads
This section isn't applicable to lug nut installation. Lug nuts are typically replaced when they are damaged, corroded, or when switching to new wheels that require a different seat type or thread pitch. They don't have a mileage-based replacement interval like brake pads. Inspect them whenever you remove your wheels for signs of wear or damage; if they look bad, replace them.
Top picks
Frequently asked questions
What happens if I use the wrong type of lug nut?
Using the wrong lug nut seat type means the nut won't fully contact the wheel, leading to an insecure fit. This can cause vibrations, premature wear on the wheel and studs, and potentially lead to the wheel coming loose, which is extremely dangerous.
Can I use conical lug nuts on ball seat wheels?
No, you should never use conical lug nuts on ball seat wheels, or vice versa. The differing shapes prevent proper seating and clamping force, which compromises safety and can damage both the lug nuts and the wheel's lug holes.
How do I know my vehicle's lug nut thread size?
Your vehicle's service manual or owner's manual will specify the correct lug nut thread size and pitch. You can also find this information by measuring an existing lug nut or checking online resources specific to your vehicle's make and model.
Do aftermarket wheels use different lug nuts?
Often, yes. Aftermarket wheels frequently have different lug seat types or require specific lug nuts to ensure proper fitment and centering. Always confirm the required lug nut type with the wheel manufacturer when installing aftermarket wheels.