Why this matters for your vehicle
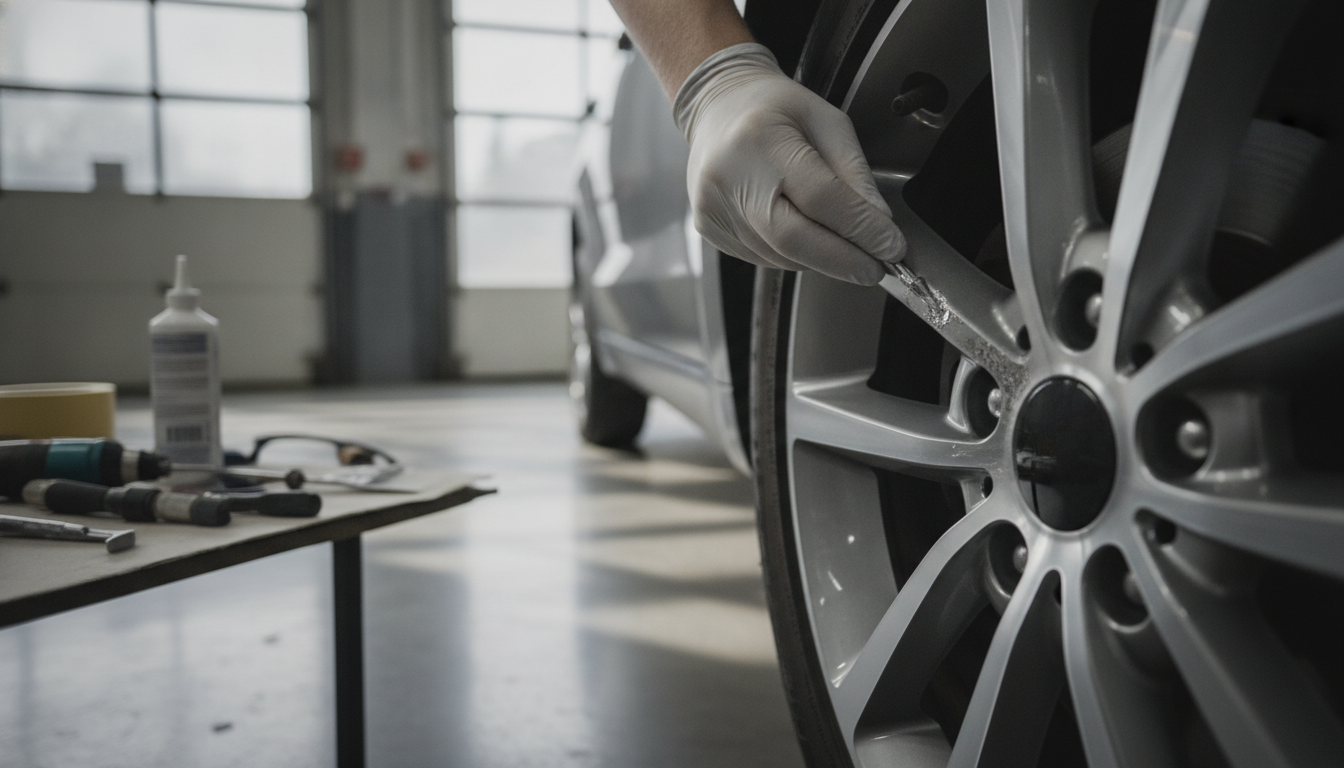
Scraping an alloy wheel against a curb is a gut-wrenching sound. It happens to the best of us, and it leaves an ugly mark on your otherwise pristine wheels. This isn't just about aesthetics, though. While minor curb rash is mostly cosmetic, deep gouges can compromise the wheel's finish and potentially lead to corrosion over time, especially if the protective clear coat is breached. Fixing curb rash yourself can save you a significant chunk of change compared to a professional wheel repair shop.
Alloy wheels are a big part of your vehicle's overall look. Keeping them in good shape maintains your car's resale value and just makes it nicer to look at. Plus, tackling this repair yourself gives you a real sense of accomplishment.
Before you start: when NOT to DIY
Most minor to moderate curb rash is a good candidate for a DIY repair. However, there are times when you should absolutely take your wheel to a professional shop. If you see any of these red flags, don't try to fix it yourself:
- Cracks in the wheel: Any visible cracks, no matter how small, indicate structural damage. This is a safety issue and requires professional assessment and repair or replacement.
- Bends or dents: If the wheel itself is bent or has a significant dent, especially around the bead seat, it's not a DIY job. A bent wheel can cause vibrations and tire leaks.
- Deep gouges near the tire bead: Damage in this critical area can prevent the tire from sealing properly, leading to slow leaks or even a sudden blowout.
- Extensive damage: If more than a quarter of the wheel's circumference is severely damaged, or if the damage is very deep and widespread, a professional will have the right tools and expertise for a proper restoration.
- Chrome or polished wheels: These finishes are much harder to repair seamlessly at home compared to painted or clear-coated alloy wheels.
Step-by-step procedure
Step 1 — Clean the wheel thoroughly Start by washing the entire wheel with soap and water to remove loose dirt and grime. Once it's dry, use a dedicated wheel cleaner and a stiff brush to get into all the nooks and crannies. You want the surface absolutely spotless. Any grease or dirt left behind will interfere with adhesion later on. I usually follow up with isopropyl alcohol or a wax and grease remover on the damaged area to ensure it's truly clean.
Step 2 — Mask off the tire Protect your tire from sanding and painting. Use painter's tape to carefully mask off the tire, tucking it under the wheel lip as much as possible. You can also use playing cards or a deck of index cards inserted around the rim edge for a quick and effective barrier.
Step 3 — Sand the damaged area This is where you'll smooth out the rough edges. Start with a coarser grit sandpaper, like 180-grit, to remove the most prominent damage. Work slowly and evenly, following the contour of the wheel. Gradually move to finer grits — 220, then 320, then 400-grit — to progressively smooth the surface. The goal is to feather the edges of the damage so it blends seamlessly with the undamaged part of the wheel. Don't be afraid to take your time here; good prep is key to a good finish.
Step 4 — Apply automotive filler (if needed) For deeper gouges that sanding alone can't eliminate, you'll need automotive filler. Mix a small amount according to the product instructions — usually a two-part epoxy. Apply a thin layer to the damaged area using a plastic spreader or putty knife. Don't over-apply; you can always add more. Let it cure completely according to the manufacturer's directions, which can take anywhere from 15 minutes to an hour.
Step 5 — Sand the filler smooth Once the filler is hard, sand it down. Start with 320-grit sandpaper and work your way up to 400-grit, then 600-grit. The surface should be perfectly smooth and flush with the rest of the wheel. If you feel any high spots or imperfections, apply more filler and repeat the sanding process. This part is critical for an invisible repair.
Step 6 — Clean and prime the repair Clean the sanded area again with isopropyl alcohol or wax and grease remover to remove any dust. Now, apply a few light, even coats of automotive primer specifically designed for alloy wheels. Allow each coat to flash off before applying the next. The primer helps the paint adhere better and provides a uniform base color. Let the primer dry completely.
Step 7 — Apply wheel paint Shake your wheel paint can well. Apply several thin, even coats of paint, holding the can about 6-8 inches from the surface. Overlap each pass slightly. It's better to do multiple thin coats than one thick coat, which can run or sag. Allow adequate drying time between coats as specified by the paint manufacturer. Choose a wheel paint that closely matches your wheel's original color. Many auto parts stores can help you find a close match, or you might find touch-up paint specifically for your vehicle's wheels.
Step 8 — Apply clear coat Once the paint is dry to the touch, apply a few coats of automotive clear coat. This protects the paint and gives it that factory gloss. Again, apply thin, even coats, allowing proper flash time between each. The clear coat is what gives the repair durability and a professional look. Let the clear coat cure fully, which can take 24-48 hours depending on the product and humidity.
Step 9 — Polish and buff After the clear coat has fully cured, you can wet-sand the repaired area with very fine grit sandpaper (2000-grit or higher) to remove any orange peel or imperfections, then use a polishing compound and a buffer to bring back the shine. This step is optional but really elevates the finish to a professional level. Remove all masking tape and cards.
Bedding-in the new pads
While this isn't a brake job, if you've done any work on your wheels that involved removing them, it's a good reminder to ensure your lug nuts are properly torqued. Double-check them after about 50-100 miles of driving to make sure they haven't loosened. For this type of repair, there's no specific torque value, so consult your service manual for the correct specifications.
Common mistakes to avoid
- Skipping the cleaning step: It might seem tedious, but cleaning is crucial for adhesion. Don't rush this.
- Using the wrong paint: Always choose automotive-grade wheel paint. Regular spray paint won't hold up.
- Applying too thick a coat: Thin coats are key to a smooth finish. Thick coats can run and ruin your work.
- Neglecting to let each layer dry: Patience is essential. Let each coat dry fully before applying the next.
FAQ
- How much does it cost to fix curb rash at a shop?
Professional curb rash repair can range from $75 to $200 per wheel, depending on the extent of the damage and the wheel's finish. DIY methods are significantly cheaper, primarily covering the cost of sandpaper, filler, primer, paint, and clear coat. - Can curb rash be painted over without filler?
Minor, shallow curb rash can sometimes be sanded smooth and painted directly. However, for deeper gouges or missing material, filler is essential to create a smooth, even surface for the paint to adhere to, ensuring a durable and invisible repair. - How long does a DIY curb rash repair last?
A well-executed DIY curb rash repair, using quality automotive products and proper preparation, can last for several years. Durability depends on the quality of materials, application technique, and how well the wheel is maintained after the repair. - What kind of paint should I use for alloy wheels?
Always use automotive-grade wheel paint. These paints are designed to withstand the harsh conditions wheels endure, including heat, brake dust, and road grime. Many brands offer specific colors or finishes to match common alloy wheels.
Top picks
Frequently asked questions
How much does it cost to fix curb rash at a shop?
Professional curb rash repair can range from $75 to $200 per wheel, depending on the extent of the damage and the wheel's finish. DIY methods are significantly cheaper, primarily covering the cost of sandpaper, filler, primer, paint, and clear coat.
Can curb rash be painted over without filler?
Minor, shallow curb rash can sometimes be sanded smooth and painted directly. However, for deeper gouges or missing material, filler is essential to create a smooth, even surface for the paint to adhere to, ensuring a durable and invisible repair.
How long does a DIY curb rash repair last?
A well-executed DIY curb rash repair, using quality automotive products and proper preparation, can last for several years. Durability depends on the quality of materials, application technique, and how well the wheel is maintained after the repair.
What kind of paint should I use for alloy wheels?
Always use automotive-grade wheel paint. These paints are designed to withstand the harsh conditions wheels endure, including heat, brake dust, and road grime. Many brands offer specific colors or finishes to match common alloy wheels.