Why this matters for your vehicle
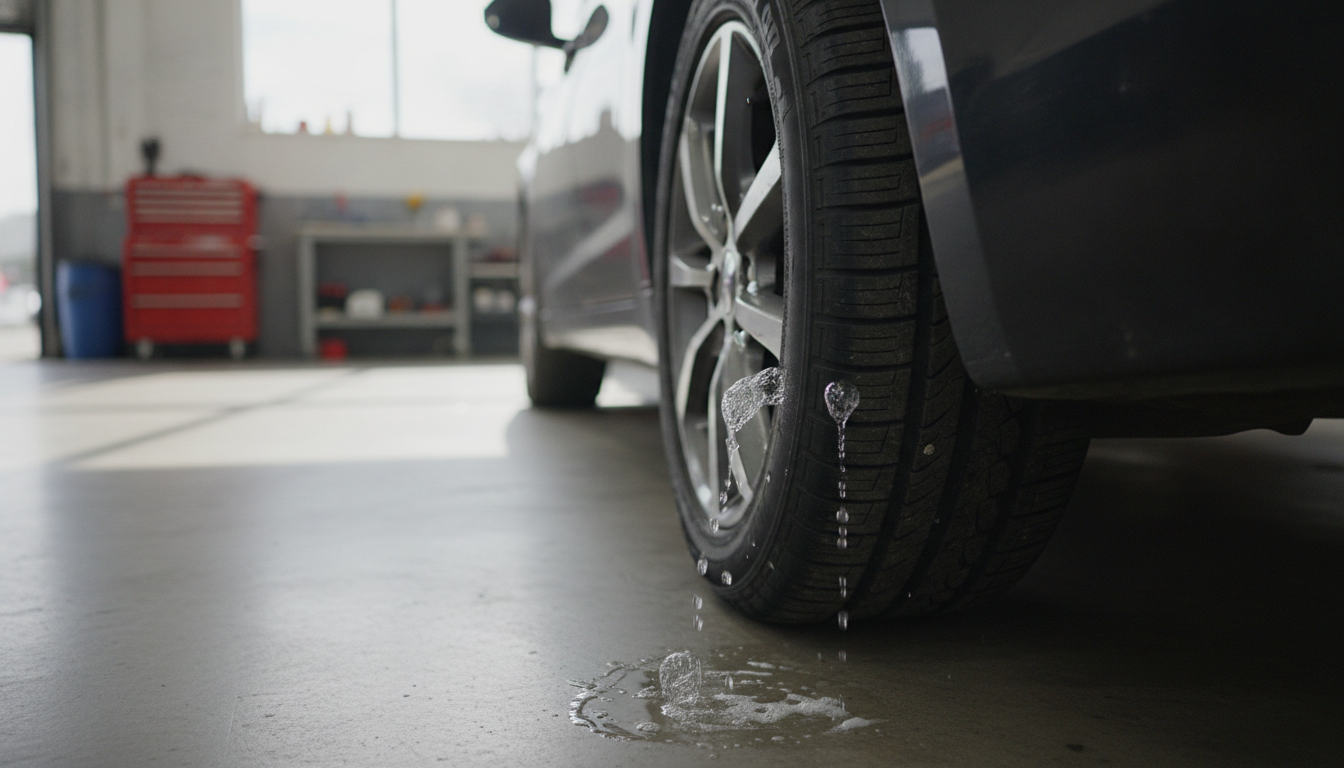
A slow tire leak is more than just an annoyance. It can lead to uneven tire wear, reduced fuel economy, and, most importantly, compromised handling and safety. Underinflated tires generate more heat, which can cause premature tire failure. Catching and fixing a slow leak early saves you money in the long run by extending tire life and avoiding more serious issues on the road.
Driving on an underinflated tire also puts extra stress on the sidewalls and tread. This can lead to internal damage that you can't see, making the tire unsafe even if the leak is eventually fixed. Addressing the issue promptly ensures your vehicle remains safe and efficient.
Before you start: when NOT to DIY
While many slow leaks are fixable at home, some situations require professional help. Don't attempt a DIY repair if:
- The puncture is in the tire's sidewall.
- The puncture is larger than a quarter-inch in diameter.
- You've driven on the tire while it was severely underinflated, potentially causing internal damage.
- There are multiple punctures close together.
- The tire tread is already worn down to the wear bars.
Step-by-step procedure
Step 1 — Find the leak First, you need to pinpoint exactly where the air is escaping. Inflate the tire to its recommended pressure. Mix some dish soap with water in a spray bottle. Spray the entire tire, paying close attention to the tread, sidewalls, and around the valve stem. Look for bubbles forming – that's your leak. Mark it with a crayon or chalk.
Step 2 — Remove the tire Loosen the lug nuts while the vehicle is on the ground. Jack up the vehicle and support it securely with jack stands. Remove the lug nuts completely and take the wheel off. Lay the wheel flat on a clean surface. If the leak is a nail or screw, pull it out with pliers. Make sure to check the inside of the tire for any additional debris that could cause future leaks.
Step 3 — Repairing with a plug (for tread punctures only) If you have a simple puncture in the tread, a plug can be a quick fix. Use the reamer tool from your plug kit to clean out and enlarge the puncture. Push the reamer in and out several times to ensure a clean hole. Next, thread a plug into the insertion tool. Apply rubber cement to the plug if your kit includes it. Shove the plug into the hole until only about an inch is sticking out. Twist the tool a quarter turn and pull it out quickly, leaving the plug in place. Trim any excess plug material flush with the tread. I've seen these plug kits save countless road trips, but they're not a permanent solution. If you’re planning to drive long distances, consider a more robust repair.
Step 4 — Repairing with an internal patch (the best method) For a more robust and permanent repair, an internal patch is the way to go. This requires removing the tire from the wheel. Take it to a shop or use a tire machine if you have access. Once the tire is off, clean the inner liner around the puncture thoroughly with a wire brush and then a prep solution. Scuff the area with a grinding tool to create a rough surface. Apply rubber cement and let it dry slightly. Peel the backing off your patch and center it over the puncture, pressing it firmly from the center outwards to remove air bubbles. Use a roller tool to ensure good adhesion. This is the only method I trust for a truly long-lasting repair. Remember, a well-done patch can last the life of the tire if done correctly.
Step 5 — Addressing a leaky valve stem Sometimes the leak isn't in the tire itself but in the valve stem. You can often tell by spraying soapy water directly onto the valve stem. If it bubbles, the stem is bad. First, remove the valve core with a valve core tool. This will deflate the tire. Then, you can usually pull the old rubber valve stem out by hand or with pliers from the outside. Push a new valve stem through the rim hole from the inside, pulling it through from the outside with a valve stem installation tool until it seats firmly. Reinstall the valve core and inflate the tire. Check for leaks again. This is a simple fix that can save you from a lot of hassle down the road.
Step 6 — Reinstall the wheel Once the repair is done and the tire is inflated to the correct pressure, put the wheel back on the vehicle. Hand-tighten the lug nuts. Lower the vehicle until the tire just touches the ground, then tighten the lug nuts in a star pattern to the factory specifications. Consult your service manual for the exact torque values. Lower the vehicle completely and remove the jack and jack stands. Always double-check your work to ensure everything is secure.
Common mistakes to avoid
- Ignoring the leak: Many drivers think they can just keep adding air. This can lead to more significant issues.
- Not checking the inside of the tire: Always inspect the inside for debris that could cause future leaks.
- Using a plug for sidewall damage: This is unsafe and can lead to blowouts.
- Neglecting to rebalance after a patch: This can cause vibrations and uneven tire wear.
How often to replace tires
Tires are replaced when they wear out, typically after 40,000 to 80,000 miles, depending on the tire type, driving habits, and vehicle. You should replace a tire if the tread depth is below 2/32nds of an inch, or if there are any signs of significant damage like large cracks, bulges, or separation.
Top picks
Frequently asked questions
Is a tire plug a permanent fix?
A tire plug is considered a temporary repair. While it can hold air for a long time, it's best to follow up with an internal patch at a tire shop for a more permanent and safer solution, especially for high-speed driving.
Can I fix a sidewall puncture?
No, sidewall punctures generally cannot be safely repaired. The sidewall flexes too much, making it impossible for a patch or plug to hold reliably. A tire with sidewall damage should always be replaced for safety.
How do I know if my valve stem is leaking?
To check for a leaky valve stem, inflate your tire to the correct pressure and spray soapy water directly onto the valve stem. If you see bubbles forming around the stem, it indicates air is escaping, and the valve stem needs to be replaced.
Do I need to rebalance my tire after a patch?
Yes, after an internal patch, it's highly recommended to have your tire rebalanced. Adding a patch changes the weight distribution of the tire, and rebalancing ensures smooth driving and prevents vibrations.