Why this matters for your
When you're outfitting your vehicle with auxiliary lights, it's easy to get lost in all the options. You see fog lights, driving lights, and a million different light bars. But these aren't just different names for the same thing. Each type of light is designed for a specific purpose, and it's all about the beam pattern. Understanding how each one projects light will help you pick the right setup for your needs, whether you're dealing with thick fog, dark backroads, or off-road trails. The wrong light can be useless, or worse, make things harder to see.
It's not just about brightness. A super bright light pointed the wrong way is just a blinding nuisance. The shape and direction of the light beam are what really make the difference. You want the light to go where you need it, when you need it, without causing glare for you or other drivers. This is especially true when you're talking about conditions where visibility is already compromised.
Before you start: when NOT to DIY
Most auxiliary light installations are pretty straightforward, especially if you're just swapping out existing lights or adding a simple light bar with a dedicated wiring harness. However, there are a few situations where it's better to let a professional shop handle the job. Don't try to DIY if:
- You're dealing with complex vehicle wiring systems that integrate with the CAN bus.
- You're not comfortable with electrical work or don't have the right tools to safely tap into your vehicle's power.
- You're trying to modify existing headlight assemblies beyond a simple bulb swap, like converting to projectors.
- You suspect a deeper electrical issue is causing your current lighting problems.
- Your local regulations for auxiliary lighting are particularly strict or complex, and you're unsure about compliance.
Step-by-step procedure
Step 1 — Understand fog light beam patterns Fog lights are designed to illuminate the road directly in front of your vehicle, underneath the fog, rain, or snow. They have a very wide, flat beam pattern. This low, broad spread prevents light from reflecting back into your eyes from airborne particles. You want to mount these low on your bumper, usually below your headlights. The goal is to see the road markings and immediate obstacles without creating glare.
Step 2 — Recognize driving light beam patterns Driving lights are basically extra high beams. They're designed to project a long, narrow beam of light far down the road, supplementing your vehicle's high beams. These are for when you're driving at higher speeds on unlit roads and need to see obstacles well in advance. Mount them higher than fog lights, typically on the grille or bumper, at a similar height to your headlights. The idea is to extend your forward visibility significantly.
Step 3 — Differentiate light bar beam patterns Light bars are versatile and often combine different beam patterns. You'll find flood patterns, spot patterns, or a combination of both. A flood pattern spreads light wide and close, similar to a fog light but often much brighter and not necessarily as flat. A spot pattern is a highly concentrated beam that reaches very far, like a driving light but even more intense. Combination bars give you both, with spot beams in the center and flood beams on the ends. I've seen countless light bar setups, and the best ones always match the driver's specific use case, whether it's slow-speed trail crawling or high-speed desert running.
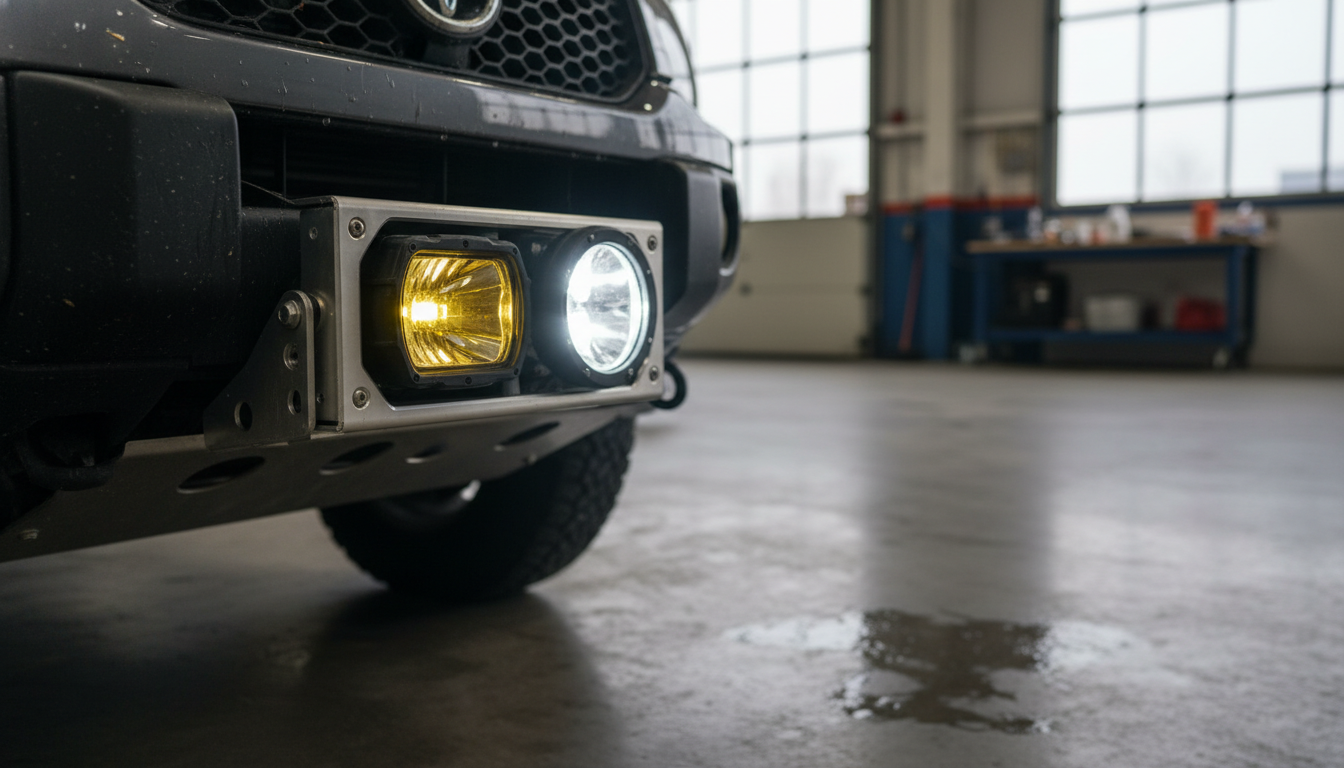
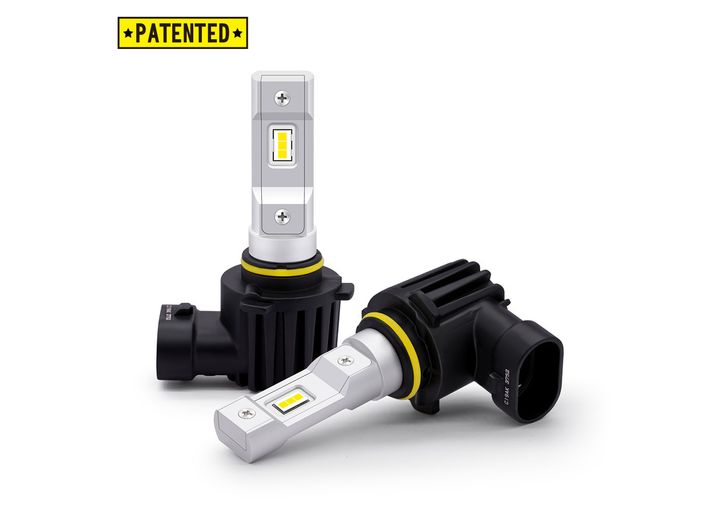
Step 4 — Consider beam color and temperature While not strictly a beam pattern, the color temperature of your lights affects visibility. Whiter light (5000K-6000K) is often preferred for general driving as it mimics daylight. Yellow-tinted fog lights (around 3000K) can sometimes be more effective in heavy fog because the longer wavelength of yellow light scatters less. Arc Lighting offers their Tiny Monster Concept Series H11 LED Headlight Bulb Kit, which can provide a crisp, clear light output for various applications, available for $127.67 with 357 in stock.
Step 5 — Aim your fog lights correctly Proper aiming is critical. Fog lights should be aimed low, with the top of the beam cut-off below the headlight beam. This ensures they illuminate the road without shining into the fog and causing glare. Most fog lights have adjustment screws. Consult your service manual for specific aiming procedures and measurements for your vehicle.
Step 6 — Aim your driving lights correctly Driving lights should be aimed to complement your high beams. This usually means aiming them slightly higher than your low beams, but still below the line of sight for oncoming traffic. You want them to project light far ahead without creating a hot spot directly in front of your vehicle that would strain your eyes. Again, check your service manual for precise aiming instructions.
Step 7 — Aim your light bar Light bars, especially those with combination beams, need careful aiming. For off-road use, you might aim them to provide a wider spread, illuminating ditches and obstacles to the sides. For high-speed applications, a slight upward tilt might be beneficial to see further down the trail. Since light bars are typically for off-road use, the aiming can be more aggressive, but always be mindful of when and where you use them to avoid blinding others. The Dorman Headlamp Adjusting Screw Kit, though for headlights, highlights the importance of precise adjustment for any lighting component, and is available for $5.03 with 5 in stock.
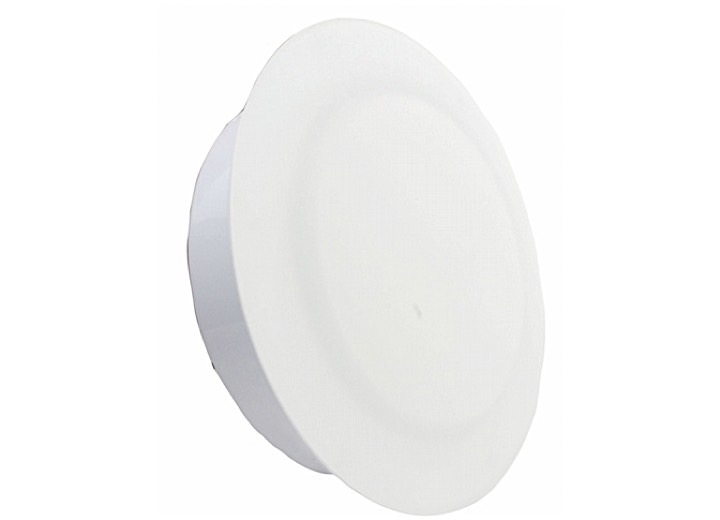
Step 8 — Understand legal limitations Many regions have specific laws about auxiliary lighting, including how many lights you can have, their maximum height, and when they can be used. Fog lights are generally legal for on-road use in poor weather. Driving lights and light bars are often restricted to off-road use only, or can only be operated with high beams. Always check your local vehicle code before installing and using auxiliary lights. You don't want to get pulled over for using a Valterra 4 Foot LED Recess Can Light, even though it's a great light for its intended purpose, available for $33.70 with 259 in stock.
Bedding-in the new pads
There's no
Top picks
Frequently asked questions
What's the main difference between fog and driving lights?
Fog lights have a wide, flat beam that cuts under bad weather for close-up visibility. Driving lights have a narrow, long-range beam that extends your high beams for better distance vision on clear, dark roads. It's all about where the light goes.
Can I use a light bar as a substitute for fog or driving lights?
While light bars can offer powerful illumination, they're typically not ideal substitutes for dedicated fog or driving lights due to their often less controlled beam patterns. Fog lights need a precise cut-off, and driving lights need a focused long throw. Light bars usually provide a broader, less specific spread.
Are yellow fog lights better than white ones?
Some drivers find yellow fog lights (around 3000K) more effective in heavy fog, rain, or snow. The theory is that yellow light scatters less than white light, reducing glare. However, modern white LED fog lights with proper beam patterns can also be very effective.
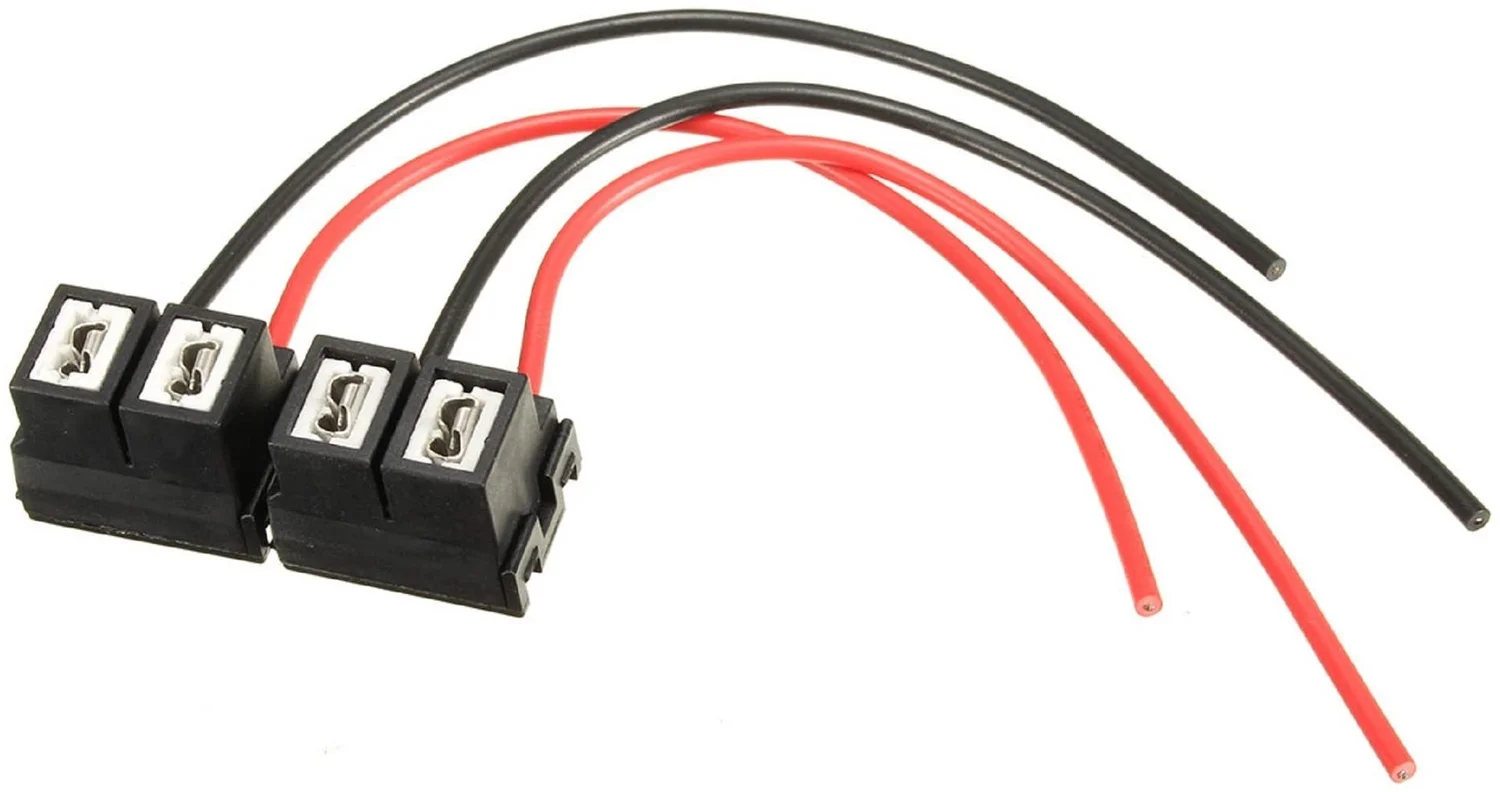
Do I need a special wiring harness for auxiliary lights?
Yes, for most auxiliary lights, especially high-power light bars, you'll need a dedicated wiring harness with a relay and fuse. This protects your vehicle's electrical system and ensures the lights receive adequate power. Products like the Mtq Heavy Duty H7 Headlight Wiring Harness, available for $5.03, show the importance of proper wiring.