Why this matters for your
Properly aimed headlights are crucial for safe night driving. When your headlights are out of whack, you're not just seeing less of the road; you're also potentially blinding oncoming drivers or the guy in front of you. It's a safety issue for everyone, not just you.
Think about it: too high, and you're glaring at other drivers. Too low, and you're basically driving into a black hole beyond a few feet from your bumper. Even a slight misalignment can significantly reduce your effective stopping distance because you simply can't see hazards in time. This isn't just about comfort; it's about reaction time and preventing accidents.
Before you start: when NOT to DIY
While aiming headlights is generally a pretty simple task, there are times when it's best left to a professional. If you've been in an accident and the headlight assembly itself is damaged, or if the mounting points are bent, you're looking at more than just an adjustment. If your headlights are severely fogged or yellowed, aiming them won't do much good – you'll need to restore them first. Also, if you have a vehicle with adaptive headlights or complex leveling systems, those often require specialized diagnostic tools to calibrate correctly. Don't try to force a fix that needs a deeper repair.
- Your headlight assembly is physically broken or loose.
- The vehicle has been in a front-end collision.
- You have adaptive or self-leveling headlights (common on newer luxury vehicles).
- The headlight lenses are heavily oxidized and dim.
- You're unable to locate the adjustment screws or they are seized.
Step-by-step procedure
Step 1 — Prepare your vehicle and workspace First things first, find a flat, level surface. A garage floor or a level driveway works great. You'll need a wall or a garage door that's also flat and clear. Park your vehicle 25 feet away from the wall. Make sure your tire pressures are correct, and your fuel tank is at least half full. If you usually carry heavy loads or passengers, load up the vehicle as you normally would. This ensures an accurate measurement of your vehicle's normal ride height.
Step 2 — Mark the wall for reference Measure the height from the ground to the center of each headlight bulb. Mark these heights on the wall with masking tape or a pencil. Then, measure the distance between the centers of your headlights. Use this measurement to mark two vertical lines on the wall, centered with each headlight. Finally, measure down 2 inches from your horizontal headlight center marks and draw a new horizontal line across the wall. This lower line is your target for the top of the low beam cutoff.
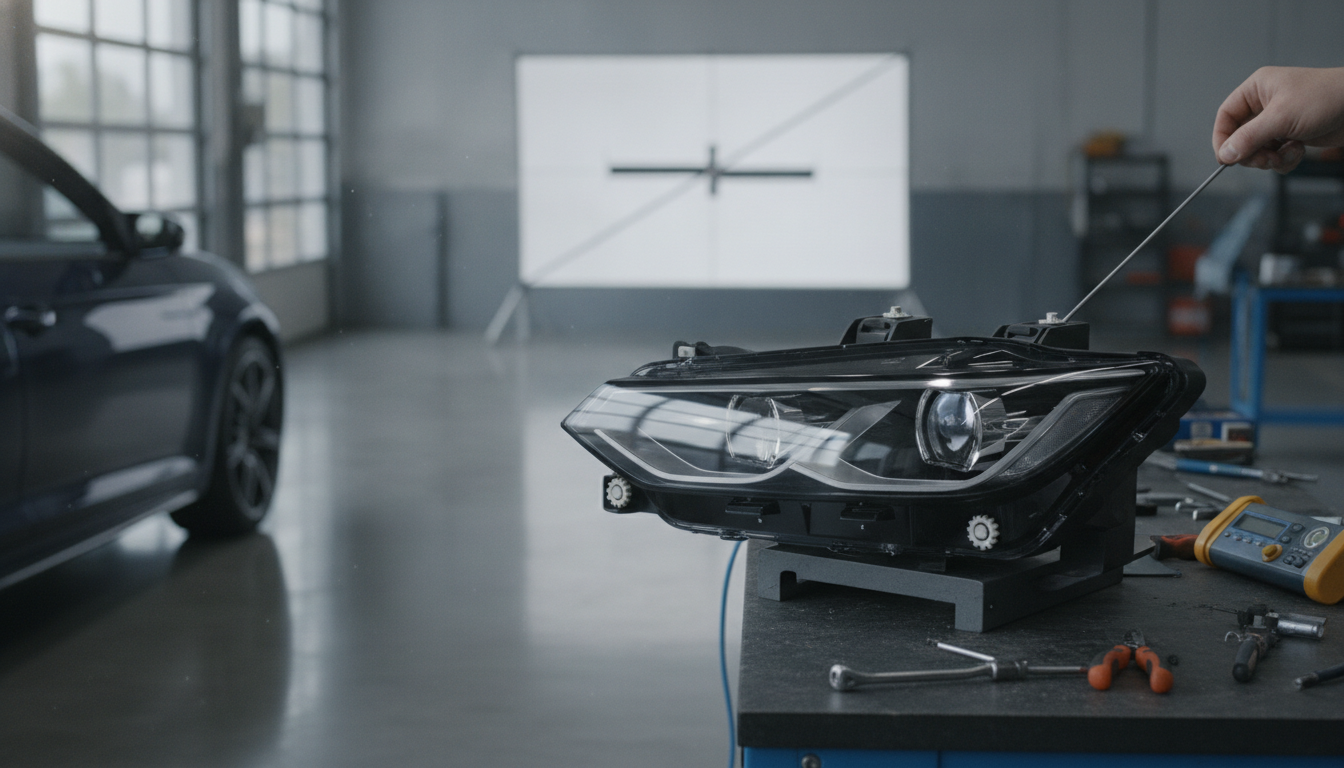
Step 3 — Locate the adjustment screws Open your hood and find the headlights. Most headlight assemblies have two adjustment screws per light: one for vertical adjustment and one for horizontal. They might be small gears or hex bolts. Sometimes they're marked with an 'H' for horizontal and 'V' for vertical. If you can't find them, consult your service manual. I've seen some vehicles where these are tucked away pretty deep, requiring a long screwdriver or a specific tool to reach.
Step 4 — Adjust the low beams vertically
Turn on your low beams. One headlight at a time, cover the other headlight with a towel or cardboard. Now, using the vertical adjustment screw, aim the light so that the top edge of the most intense part of the beam (the 'cutoff') hits that lower horizontal line you drew on the wall. You want the beam to be flat and level. Some vehicles will have a distinct hose banjo shaped cutoff, others will be a bit softer. Aim for the sharpest part of that cutoff.
Step 5 — Adjust the low beams horizontally Next, adjust the horizontal aim for the same low beam. The brightest part of the beam should be centered on the vertical line you marked for that headlight. You're looking for the 'hot spot' of the beam to line up. Repeat steps 4 and 5 for the other headlight. Take your time with this. Small adjustments make a big difference down the road.
Step 6 — Check your high beams Once your low beams are set, turn on your high beams. They should naturally align with your low beams, typically centered just above the low beam cutoff. If your high beams seem way off, it might indicate a deeper issue with the headlight assembly or a separate adjustment for high beams, which is less common but does happen. Consult your service manual if they're significantly misaligned after low beam adjustment.
Step 7 — Test drive and fine-tune Take your vehicle for a drive at night, especially on a dark road. Pay attention to how the lights illuminate the road and whether you're getting flashed by oncoming traffic. If the beams seem too high or too low, or if you're getting complaints, you can make small, incremental adjustments. Remember, a little goes a long way. Sometimes, just a quarter-turn of an adjustment screw is enough.
Common mistakes
Here are some common mistakes to avoid while aiming your headlights:
- Not checking the tire pressure before starting. This can affect your vehicle's ride height.
- Forgetting to account for any load in the vehicle. Always aim with the usual load you carry.
- Rushing the adjustment process. Take your time to ensure accuracy.
- Ignoring the high beams after adjusting the low beams. They need to be checked too.
Bedding-in the new pads
Headlights don't need a
Top picks
Frequently asked questions
How often should I check my headlight aim?
It's a good idea to check your headlight aim at least once a year, or anytime you replace a headlight bulb or have front-end work done. Vibrations and minor bumps can cause them to drift out of alignment over time.
Can I aim my headlights without special tools?
Yes, absolutely! You only need a flat surface, a wall, a tape measure, and a screwdriver or wrench for the adjustment screws. No fancy shop equipment is required for a basic aiming job.
What if my headlights are too dim even after aiming?
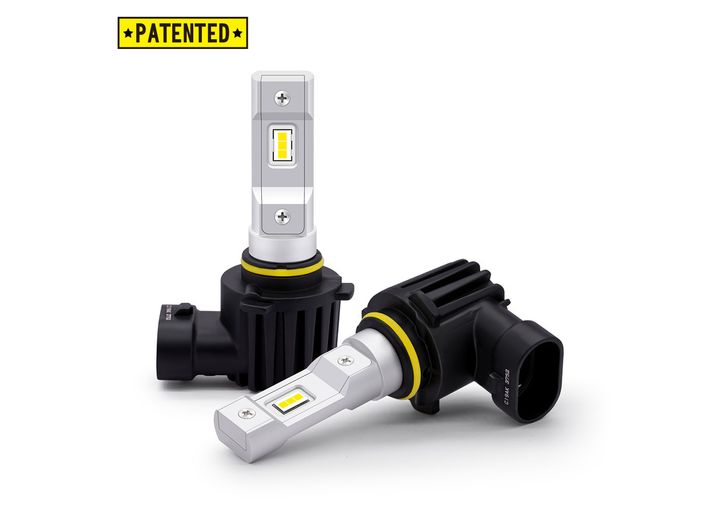
If your headlights are still dim, aiming won't fix the underlying problem. Check your bulbs – they might be old or low quality. Consider upgrading to brighter bulbs like the Arc Lighting Tiny Monster Concept Series H11 LED Headlight Bulb Kit, available for $139.99. Also, inspect the headlight lenses for hazing or yellowing, which can severely reduce light output.
Why do my headlights seem to point to the right?
Headlights are designed to illuminate the right side of the road more to help you see road signs and pedestrians without blinding oncoming drivers. This slight rightward bias is normal and intentional. If it seems excessive, recheck your horizontal adjustment.